Elden Ring SotE Castle Ensis walkthrough: Weapons, items, bosses, and more
The second major dungeon of Elden Ring Shadow of the Erdtree is Castle Ensis, a massive fortress that stands between you and the next region of the Land of Shadow.
Elden Ring Shadow of the Erdtree Castle Ensis guide
While Castle Ensis doesn’t have as many nooks and crannies to explore as something like Belurat, Tower Settlement, it contains a gauntlet of powerful foes that you must defeat in order to reach the final boss. Things don’t get any easier once you get there, either, since Rellana, Twin Moon Knight is a highly aggressive skill check of a boss that is sure to frustrate many players.
Table of Contents
- Elden Ring Shadow of the Erdtree Castle Ensis guide
- How to get in Castle Ensis and past the troll
- Where to find Milady Light Greatsword
- How to get Messmer soldier armor, Loyal Knight’s Cookbook, Royal Magic Grease, and more
- How to get past the black knight and get the Castle Ensis Scadutree Fragment
- How to unlock the shortcut to Castle Ensis Checkpoint and continue toward the boss
- How to defeat Moonrithyll, Carian Knight
- How to get Somber Smithing Stone, Imbued Sword Key, and more
- Castle Lord’s Chamber: How to prepare for Rellana, Twin Moon Knight
- How to Beat Rellana, Twin Moon Knight
- Should you pick Rellana’s Twinblade, Rellana’s Twin Moons, or use the runes?
- How to cheese Rellana, Twin Moon Knight
How to get in Castle Ensis and past the troll
While it’s not quite a boss fight, your journey through Castle Ensis begins with a big battle. There’s a giant troll waiting for you at the end of the bridge leading into the castle. Armed with a huge greatsword, it can deplete your entire HP bar with only a few strikes.
Thankfully, it uses mostly the same moveset as the countless other trolls that you’ve slain after dozens of hours in the Lands Between. You can use a shield to block its sword swings if you have enough stamina, but we recommend dodge rolling into every attack and sticking as close to the troll’s feet as possible. If you’re close enough to its feet, you can bait out its stomp attack which is much easier to dodge than the rest of its moves.
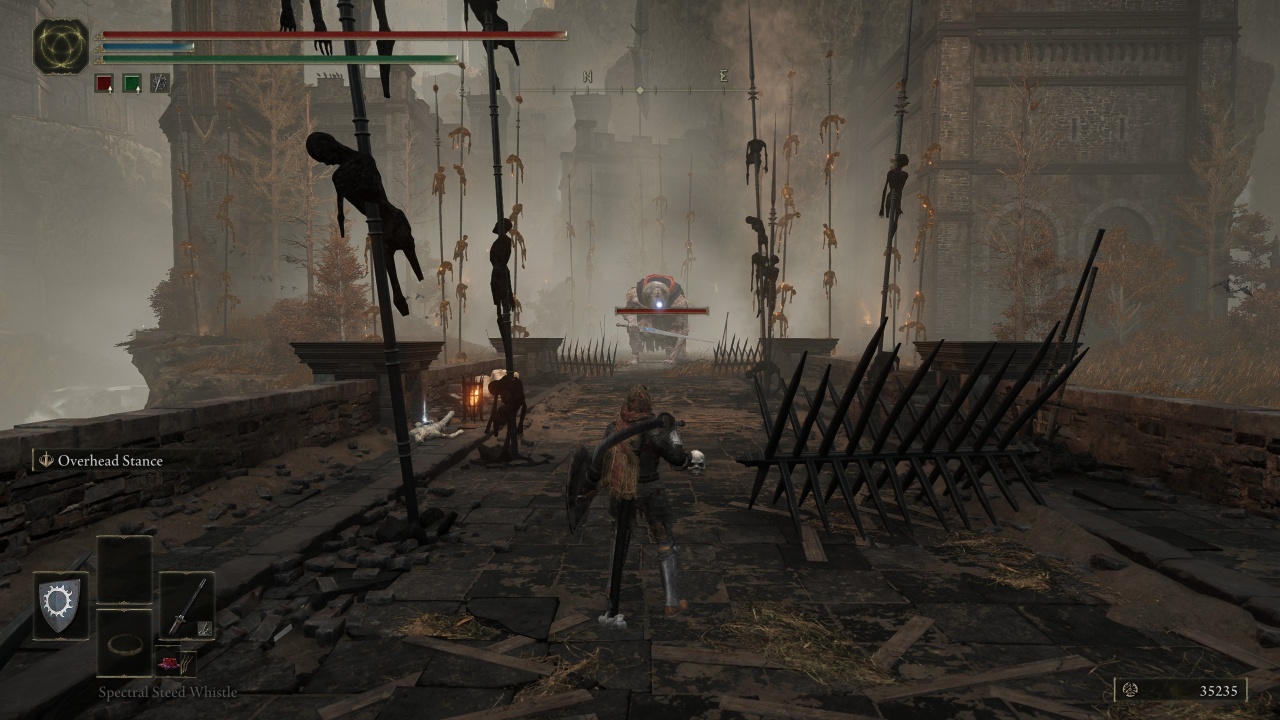
You only need to defeat the bridge troll once. It won’t respawn after you rest at a Site of Grace. If you’re really struggling, you can just run past it and try to make your way to the next Site of Grace. You can easily outrun it and focus on making it to the Castle Ensis Checkpoint at the top of the hill.
Whether you’ve defeated the troll or not, you’ll still need to continue upward to reach the next part of the dungeon. Head up the stairs and follow the path forward and you’ll see a Messmer soldier sitting near a fire with a dog. These Messmer soldiers are the main threats of Castle Ensis. They’re equipped with a shouting ability that will greatly enhance their speed and power, so try to take them out before they can use it.
Where to find Milady Light Greatsword
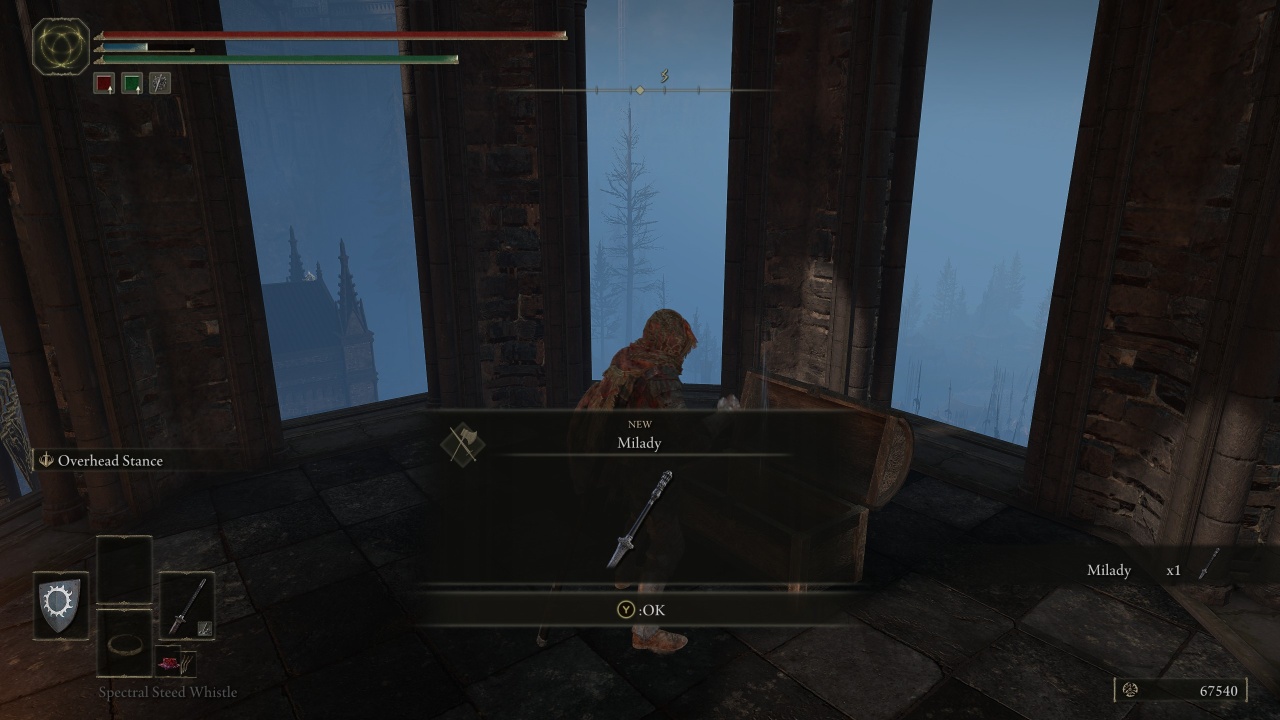
Before continuing through the cave to reach the next challenge, turn around and climb the stairs to reach the roof of the nearby building. There’s a ladder that’ll bring you to the top of a tower where you’ll find Milady. This is a Light Greatsword, an all-new weapon archetype introduced in Shadow of the Erdtree. It’s one of my personal favorite weapons from the DLC, and it’s a nice middle ground between a Strength and Dexterity weapon.
How to get Messmer soldier armor, Loyal Knight’s Cookbook, Royal Magic Grease, and more
After grabbing Milady, head through the cave and proceed further into the fortress. On the other side of the cave is the next Site of Grace, but there are a few noteworthy things just before it. If you turn right immediately after exiting the cave, you’ll find some Messmer soldiers sitting by a campfire. Remember that they have a chance to drop the Messmer soldier armor set, so pop a Silver-Pickled Fowl Foot to boost item discovery if you want it. Past the soldiers, you can drop off a ledge to grab the Scriptstone that you couldn’t reach earlier.
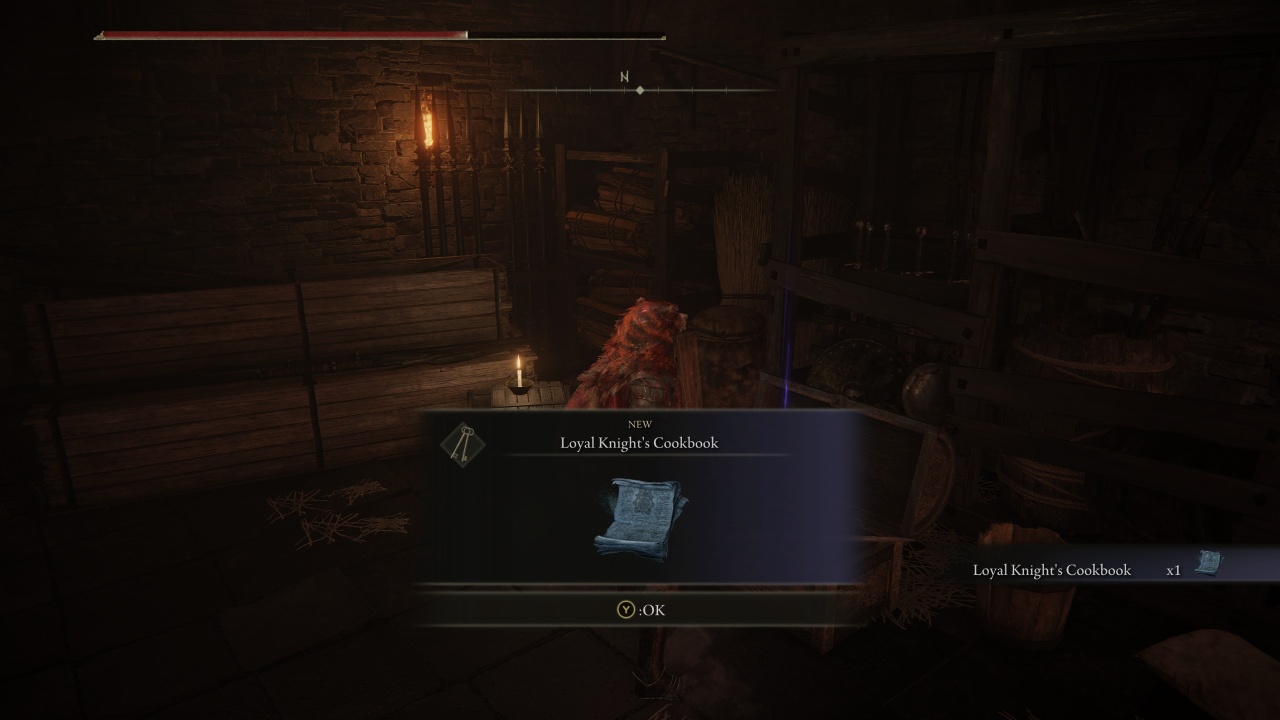
To the left of the cave is a room with a chest containing the Loyal Knight’s Cookbook, which will unlock some of the new Shadow of the Erdtree crafting recipes for you. This one in particular lets you craft magic infusion items like Royal Magic Grease, which coats your weapon and adds magic damage to it.
How to get past the black knight and get the Castle Ensis Scadutree Fragment
The big threat in this area is a patrolling black knight armed with a greatshield and a mace. He’s surprisingly fast for his size, and he’ll perform a swift guard counter if you smack his shield. Be careful and wait for a safe opening. The main thing to watch out for is the glow of his mace. If he strikes the ground with a glowing mace, it will launch a follow-up magic attack that can easily catch you off guard.
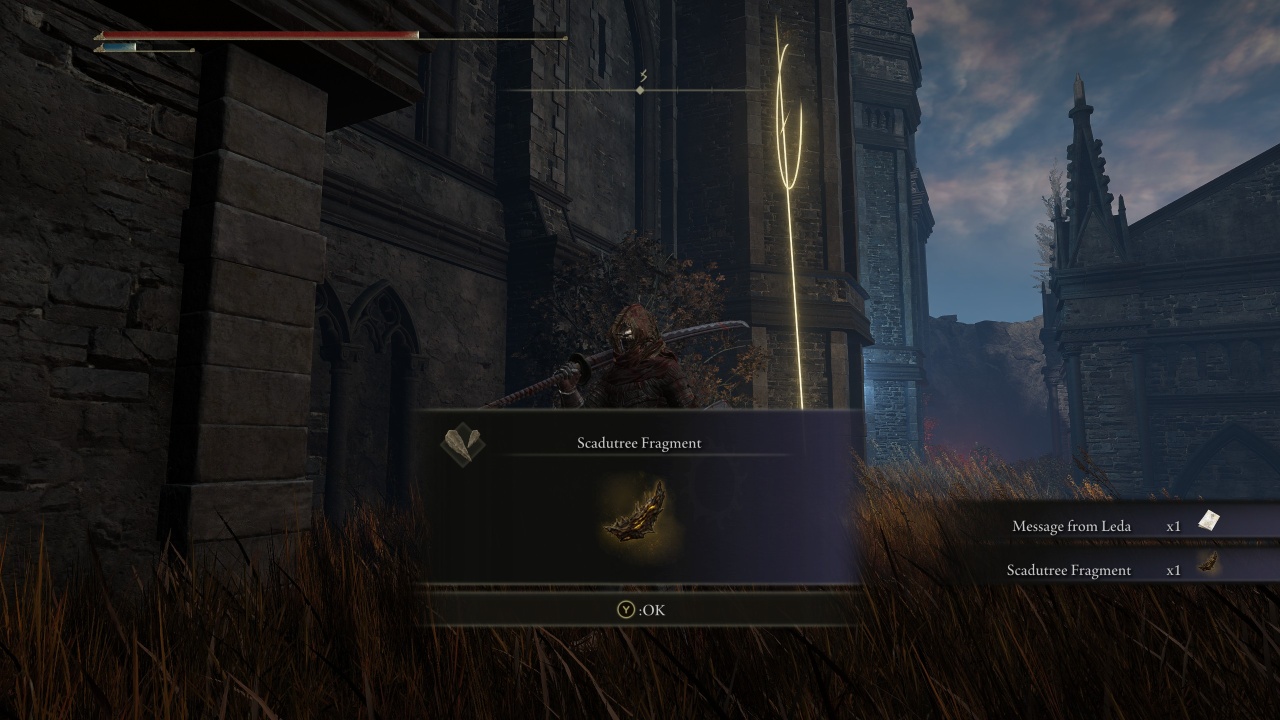
If you can’t beat the knight, just run past him and you’ll find the Castle Ensis Checkpoint Site of Grace. There’s also a Miquella Cross waiting for you, so grab that Scadutree Fragment and upgrade your stats before you forget.
How to unlock the shortcut to Castle Ensis Checkpoint and continue toward the boss
The Castle Ensis Checkpoint is the last Site of Grace you’ll encounter before you make it to the final boss room, but there’s a handy shortcut that you can unlock later on to make your route shorter. The main gate is locked for now, so the only route forward is to the right of it.
Kill the enemy standing over the nearby ledge and then drop down into the pit where you’ll find a group of dogs. Take them out and continue outside. There’s a waterfall, but you can turn right and make your way onto the roof of a building to grab an item from earlier. Once you have it, hop across the rocks and get on top of the waterfall.
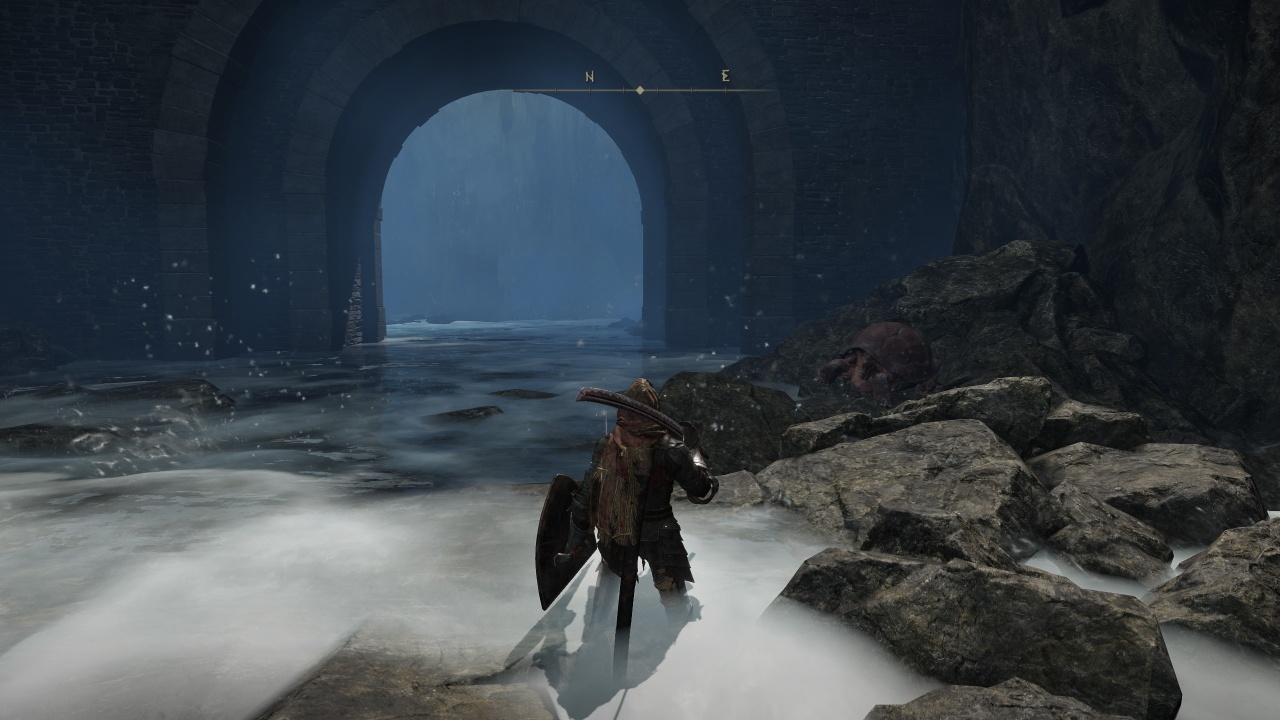
Continue forward past the dogs turtles and you’ll see yet another waterfall. Yes, there’s a cave behind it. Head inside and grab the item before climbing the nearby ladder and entering the room with more Messmer soldiers.
One of them is waiting to ambush you on the left side, so be prepared. After you kill them, continue outside and you’ll find yourself on the other side of the locked gate from earlier. The room across the way lets you open it permanently. Shortcut unlocked!
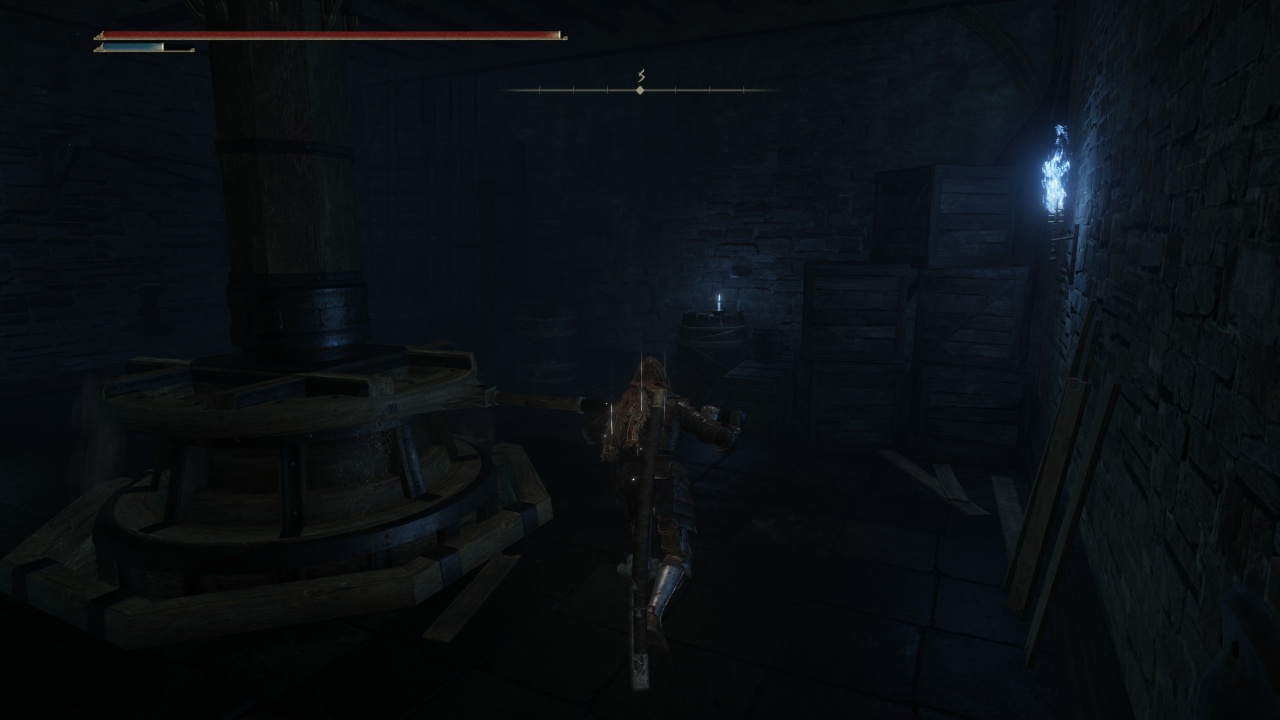
On the other side of the gate is a bridge with a ton of soldiers waiting for you. Take them out and watch out for the crossbow-wielding one in the back. Continue forward and you’ll find some pesky casters that teleport away after every attack.
Wait for them to disappear and track the direction they teleport in to catch them when they reappear. Make sure to kill all of them before continuing forward, because there’s a tough fight ahead and you don’t want them harassing you.
How to defeat Moonrithyll, Carian Knight
Once all the casters are down, it’s time for a duel with Moonrithyll, Carian Knight. Moonrithyll is a standard greatsword-wielder who mixes in some minor magic with her attacks. She has a healing flask that she’ll use when her HP gets low, so keep the pressure on. She’s easy to stagger with enough melee strikes, and ranged builds should have a very easy time keeping her away.
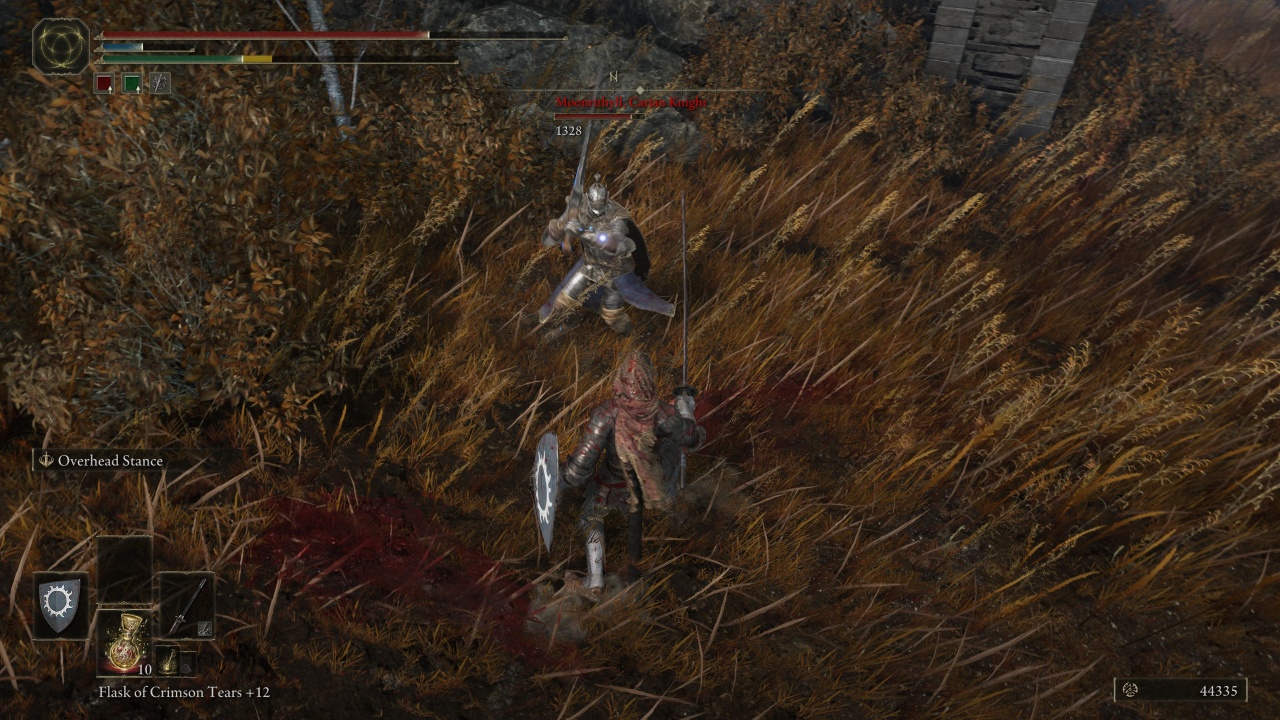
Just like the troll from earlier, you only need to defeat Moonrithyll once and then the area will remain permanently clear. You’ll get Moonrithyll’s Knight Sword as a reward. Head inside the building that Moonrithyll was guarding and grab the Rellana’s Cameo Talisman from the table in the back of the room. It enhances attacks executed after remaining in the same stance.
How to get Somber Smithing Stone, Imbued Sword Key, and more
Continue through the hallway of the building — watching out for the Carian scholars inside — and you’ll find yourself outside of a church. There’s a gate, but it’s not locked. Open the gate and proceed forward along the rampart. If you drop down to your left immediately after opening the gate, you’ll find a route that’ll get you onto the church rooftop where you can snag some helpful items like a Somber Smithing Stone.
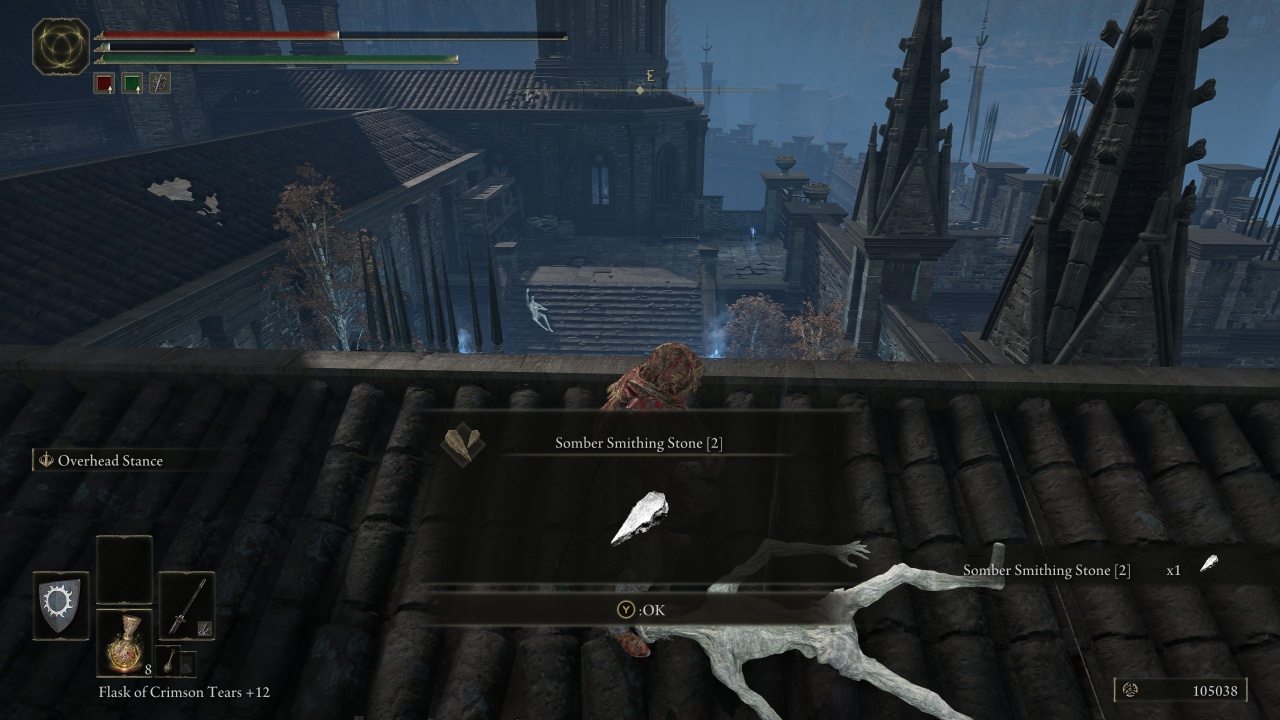
There’s a large group of soldiers and dogs halfway across the wall, but you can keep the high ground and avoid them. You’ll eventually run into a tower (watch out for the soldier waiting to ambush you along the circular stairs). At the top of the stairs, look to your left to find a small room inside the tower containing a chest with an Imbued Sword Key, a key item that you can use back in The Lands Between.
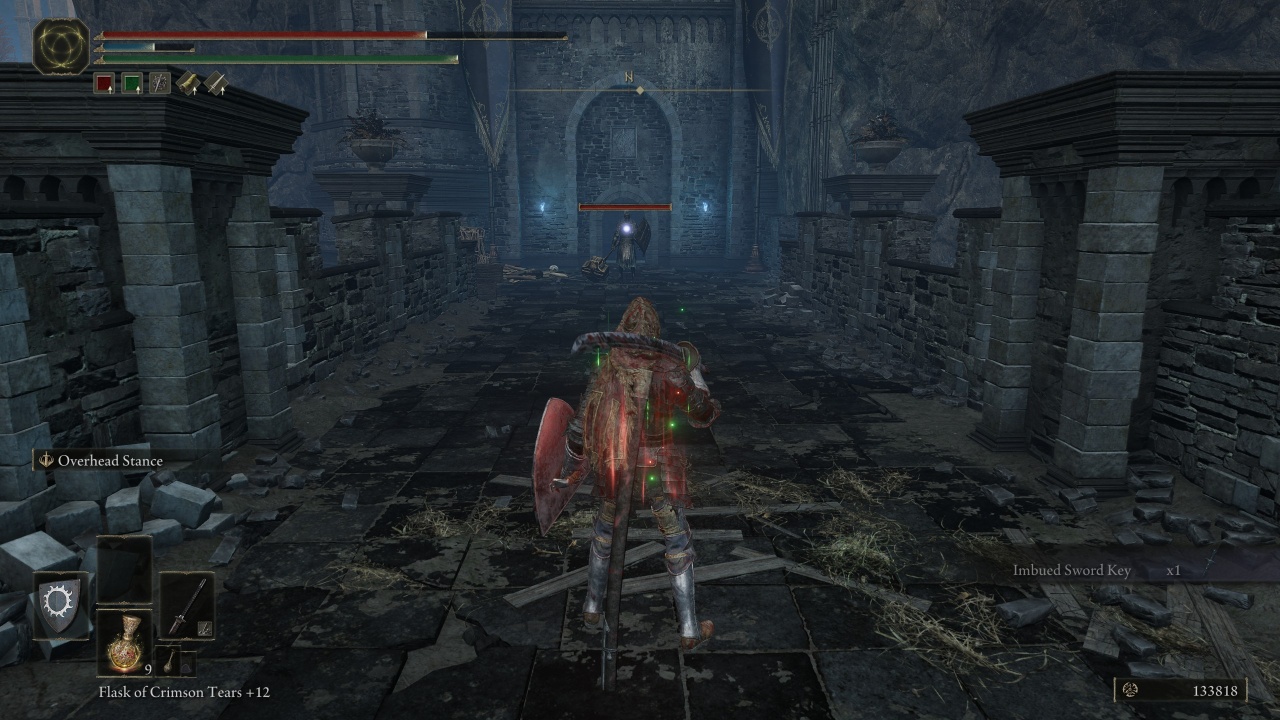
There’s an elevator waiting for you just ahead, but another black knight is standing between you and safety. Use the same strategies from earlier or just run past it and activate the elevator. He has a chance to drop the black knight armor set though, and this is a good farming spot. After dealing with him, you’ll arrive at the final safe zone of Ensis Castle: the Castle Lord’s Chamber.
Castle Lord’s Chamber: How to prepare for Rellana, Twin Moon Knight
There’s nothing to do in the Castle Lord’s Chamber besides preparing for the fight ahead. There is a Somber Smithing Stone on the balcony outside, though.
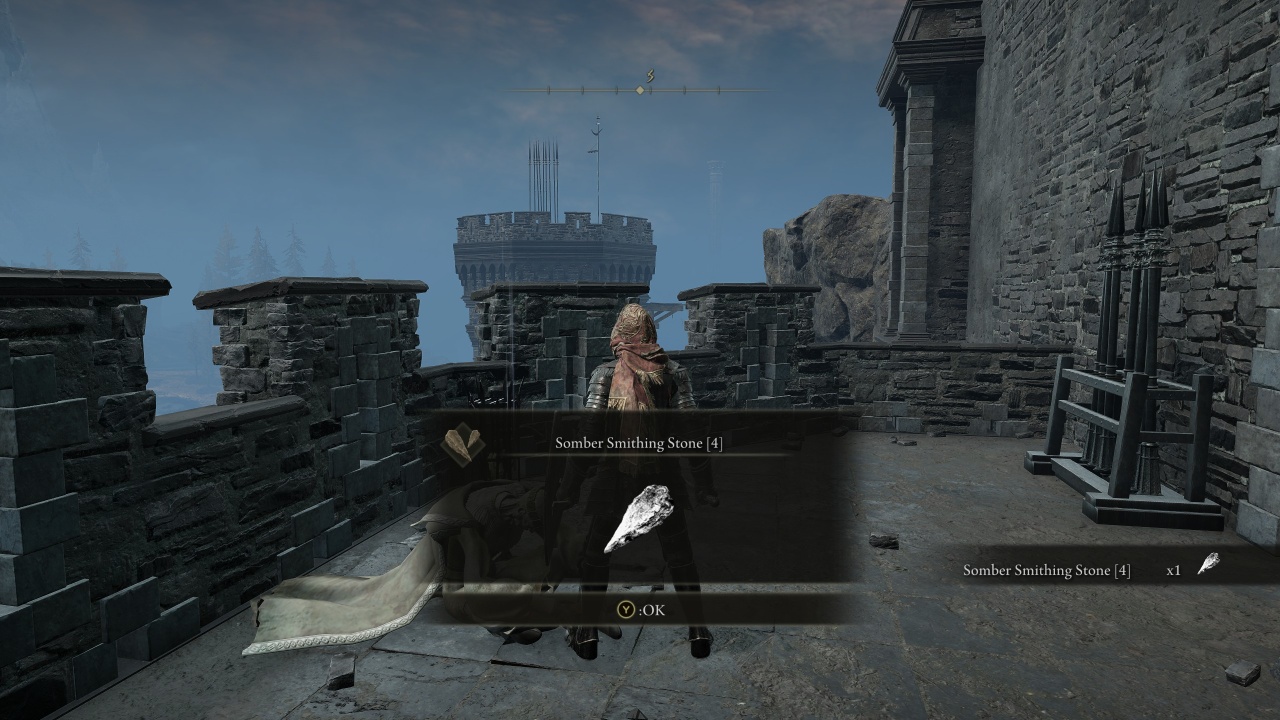
It’s now time to take on Rellana, Twin Moon Knight. You can make use of two summons for this fight — Needle Knight Leda and Dryleaf Dane — so make sure you’ve spoken to them at the various Miquella Crosses leading up to Ensis Castle to unlock them. We also recommend searching for extra Scadutree Fragments if you’re having trouble with this fight, so take some time to explore if you feel like you are weaker than usual when fighting your way through the castle.
How to Beat Rellana, Twin Moon Knight
Rellana is an incredibly aggressive boss who wields twin blades and can make use of fire magic, making her basically the exact opposite of Renalla from the base game. Despite her oppressive moveset, however, she’s very predictable. Just learn her patterns and you’ll be fine.
We highly recommend summoning one other ally for this battle, but no more. Do not summon both Leda and Dane plus a co-op partner or a Mimic Tear. More summons might sound like they’ll make the fight easier, but in reality, they just buff Rellana’s health bar so much that the fight becomes incredibly frustrating once your phantom supporters inevitably fall in battle.
The first phase of this fight sees Rellana only using her dual swords, so it’s a great time to learn her kit. Ranged builds will have a very easy time with this fight since they can just stay away from Rellana, but her high magic resistance makes the battle much longer for spellcasters. We recommend dodging into Rellana’s attacks to get behind her. The wide, sweeping strikes of her twin blades tend to only hit in front of her in a cone.
Rellana will summon floating blue Glintblades periodically throughout the fight, so be ready to dodge those in addition to her sword strikes. Try to stick close to Rellana so she won’t use her magic as often. If she jumps away from you to create space, she’s preparing to cast a spell. Be ready.
In the second phase of the fight, Rellana will imbue her swords with red and blue flames. She’ll open with an arena-wide fire attack that spawns pillars of flame throughout the area. Watch the floor to see where they’re going to be and reposition yourself accordingly. This attack usually melts any summoned phantoms or Spirit Ashes, so the rest of the fight is going to be a one-on-one affair unless you get lucky.
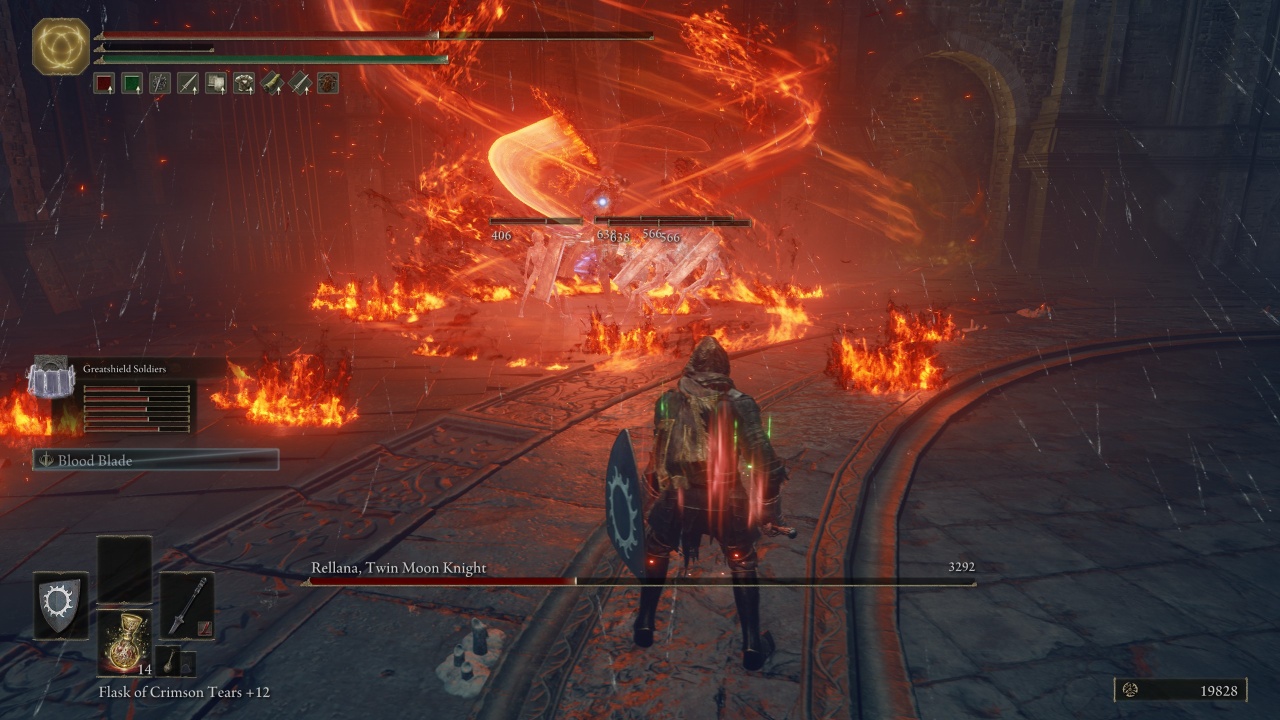
There are two incredibly deadly attacks to watch out for during this phase. First, Rellana can cast Carian Greatsword and swing a massive spectral blade that covers the entire arena. You have to dodge through this or you’ll probably die. She’ll perform a mix of vertical and horizontal strikes during this attack.
The second major attack to watch out for is her twin moon strike. This summons two full moons — similar to the Renalla fight from the base game — that she’ll slam into the ground. This creates arena-wide AOEs that you have to dodge through. After the initial two slams, Rellana will strike downward and unleash a final blow. If you don’t dodge these attacks, you will die.
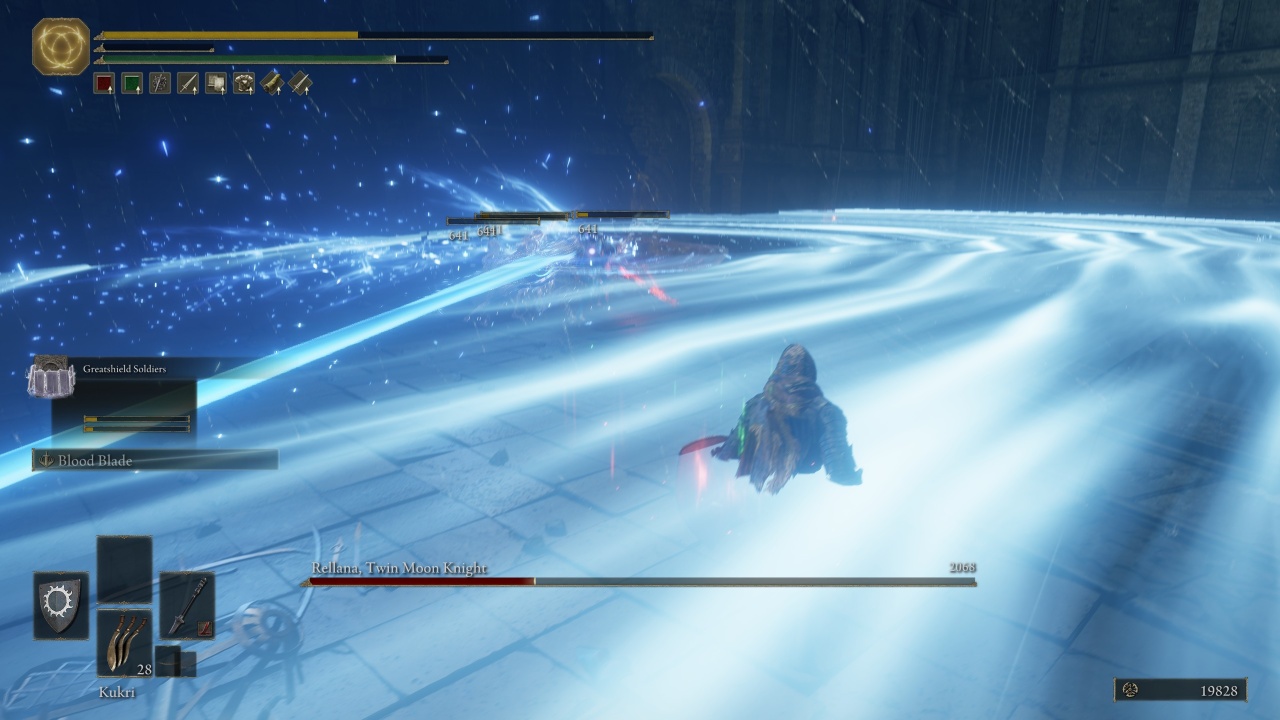
Rellana’s attack patterns are easy to memorize, but she’s so fast and aggressive that timing your dodges can be frustratingly difficult. Thankfully, she staggers easily after a few melee strikes so you can get a critical attack in once or twice during the fight. Rellana is also weak to lightning damage, so imbue your weapon with it or cast lighting spells to take her down faster.
Should you pick Rellana’s Twinblade, Rellana’s Twin Moons, or use the runes?
Once you defeat Rellana, you’ll receive the Remembrance of the Twin Moon Knight. Take this to the Roundtable Hold and you can exchange it for either Rellana’s Twinblade or Rellana’s Twin Moons. Rellana’s Twinblade is a Light Greatsword that has a unique Moon-and-Fire Stance ability matching Rellana’s abilities. Rellana’s Twin Moons is a Sorcery that lets you perform her full moon attack.
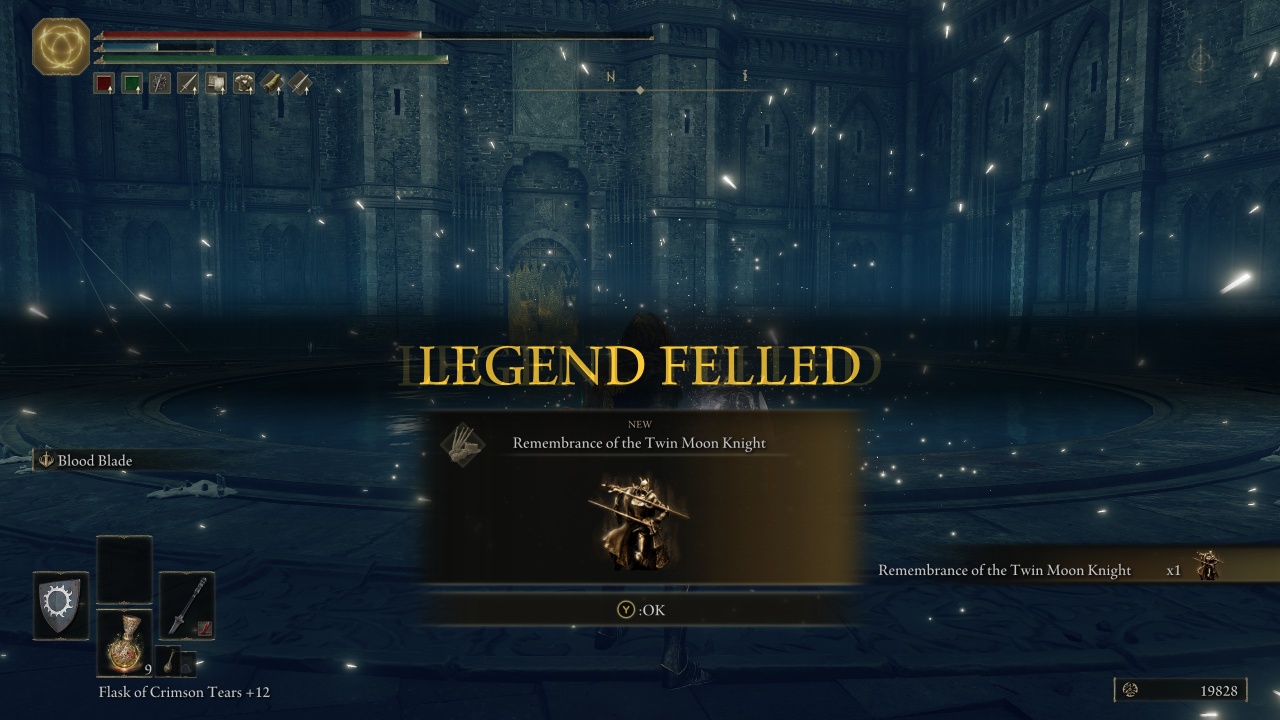
Both of these items are incredibly powerful and very fun to use. We personally recommend taking Rellana’s Twinblade since its unique ability gives you access to Rellana’s magical attacks, but you’ll need to dual-wield the swords to get the most out of them. If you’re dead set on using a shield, you should skip this one. Casters should absolutely take Rellana’s Twin Moons, though, as it’s one of the strongest spells in the game.
How to cheese Rellana, Twin Moon Knight
There’s no easy way to cheese Rellana, but there are ways to make the fight a bit easier. Firstly, use a Spirit Ash summon that spawns a group of allies so Rellana’s attention will be divided. Crowding her with a horde of summons will also result in her being frequently staggered. You can not only capitalize on the critical attack, but also spam Rellana with normal attacks while she’s in the recovery animation.
You can also bring a shield equipped with Carian Retaliation to make the fight a bit easier. This allows you to repel Rellana’s magical projectiles. As long as you keep your distance and have enough patience to do so, you can slowly chip away at her health from afar.
Defeating Rellana grants you access to Scadu Atlus, the second major zone in Shadow of the Erdtree. There are more Miquella Crosses to find, new dungeons to explore, and new gear to find. You’ll also find a mysterious Monk’s Missive that leads you down the path to unlocking new Hand-to-Hand combat styles.
-
 Stalker 2: Heart Of Chornobyl - How To Get More AmmoAs a first-person shooter, if you don't have any ammo in Stalker 2: Heart of Chornobyl, you won't be doing much shooting. The game's econo...Game Published on 2024-12-26
 -
 Loco Motive: Prologue WalkthroughLoco Motive is a game that begins with excitement. You witness a devious murder happen before your eyes and end up taking on the role of a man who see...Game Published on 2024-12-23
 -
 Alan Wake 2: The Lake House - Diana Marmont Boss Battle GuideDr. Diana Marmont is the final boss you will face at the end of Alan Wake 2: The Lake House DLC. You will find her on sub-level five, the deepest leve...Game Published on 2024-12-23
 -
 Pokemon Pocket: Complete Guide To Dex MissionsPokemon TCG Pocket allows you to collect hundreds of Pokemon cards in your own digital collection, each with its own beautiful art to admire. From ful...Game Published on 2024-12-23
 -
 Honkai Star Rail Feixiao build and teamsYou have a few options to pick from when making your Honkai Star Rail Feixiao build. The 5-star Hunt character is designed around follow-up attacks, b...Game Published on 2024-12-23
 -
 Pokemon Pocket: Lapras ex Event GuideThe newest Pokemon game, Pokemon TCG Pocket, has only been available for a week, but has already started its second event. With the Wonder Pick event...Game Published on 2024-12-23
 -
 Path Of Exile 2: The Slithering Dead WalkthroughPath of Exile 2's campaign will take you once again on a journey through Wraeclast, fighting deadly monsters and horrific abominations. As you pla...Game Published on 2024-12-23
 -
 Roblox Is Unbreakable: How To Get ArrowsArrows are one of the key items you'll be looking for while playing Roblox is Unbreakable. They give you access to stands, which are special power...Game Published on 2024-12-22
 -
 EA Sports FC 25 - How To Complete The Thunderstruck Kim Min Jae ChallengeFree objective players in EA Sports FC 25 can be hit or miss, with some options only seeing use ...Game Published on 2024-12-22
 -
 Disney Dreamlight Valley: Preposterous Premonitions Quest Walkthrough...Game Published on 2024-12-22
Study Chinese
- 1 How do you say "walk" in Chinese? 走路 Chinese pronunciation, 走路 Chinese learning
- 2 How do you say "take a plane" in Chinese? 坐飞机 Chinese pronunciation, 坐飞机 Chinese learning
- 3 How do you say "take a train" in Chinese? 坐火车 Chinese pronunciation, 坐火车 Chinese learning
- 4 How do you say "take a bus" in Chinese? 坐车 Chinese pronunciation, 坐车 Chinese learning
- 5 How to say drive in Chinese? 开车 Chinese pronunciation, 开车 Chinese learning
- 6 How do you say swimming in Chinese? 游泳 Chinese pronunciation, 游泳 Chinese learning
- 7 How do you say ride a bicycle in Chinese? 骑自行车 Chinese pronunciation, 骑自行车 Chinese learning
- 8 How do you say hello in Chinese? 你好Chinese pronunciation, 你好Chinese learning
- 9 How do you say thank you in Chinese? 谢谢Chinese pronunciation, 谢谢Chinese learning
- 10 How to say goodbye in Chinese? 再见Chinese pronunciation, 再见Chinese learning


