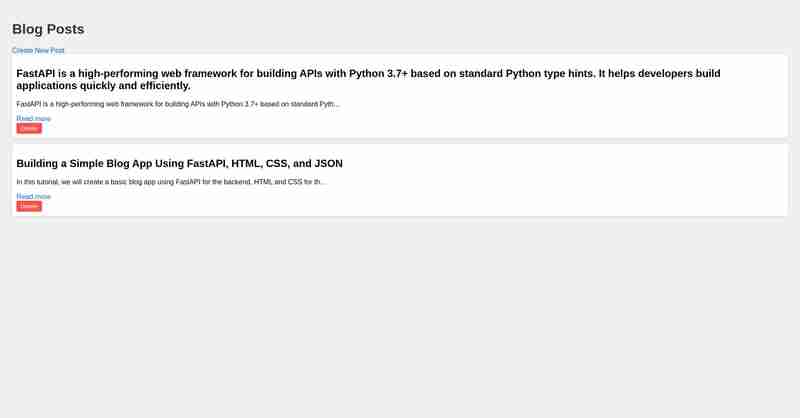
{{ post.title }}
{{ post.content[:100] }}...
Read more在本教程中,我们将使用 FastAPI 作为后端,HTML 和 CSS 作为前端,以及 创建一个基本的博客应用程序JSON 文件,用于执行基本的 CRUD(创建、读取、更新、删除)操作。
FastAPI 是一个使用 Python 构建 API 的现代 Web 框架,以其简单、速度和内置的异步操作支持而闻名。
下面的实现如下所示:


开始之前,请确保您已安装以下软件:
要安装FastAPI和Uvicorn,可以使用pip:
pip install fastapi uvicorn python-multipart
该项目的结构如下:
/blog_app
    ├── static
    │   └── style.css
    ├── templates
    │   ├── index.html
    │   ├── post.html
    │   ├── create_post.html
    ├── blog.json
    ├── main.py
创建一个 main.py 文件,其中将包含 FastAPI 应用程序。
from fastapi import FastAPI, Request, Form
from fastapi.responses import HTMLResponse, RedirectResponse
from fastapi.staticfiles import StaticFiles
from fastapi.templating import Jinja2Templates
import json
import os
app = FastAPI()
app.mount("/static", StaticFiles(directory="static"), name="static")
templates = Jinja2Templates(directory="templates")
# Load or initialize blog data
BLOG_FILE = "blog.json"
if not os.path.exists(BLOG_FILE):
with open(BLOG_FILE, "w") as f:
json.dump([], f)
def read_blog_data():
with open(BLOG_FILE, "r") as f:
return json.load(f)
def write_blog_data(data):
with open(BLOG_FILE, "w") as f:
json.dump(data, f)
@app.get("/", response_class=HTMLResponse)
async def home(request: Request):
blogs = read_blog_data()
return templates.TemplateResponse("index.html", {"request": request, "blogs": blogs})
@app.get("/post/{post_id}", response_class=HTMLResponse)
async def read_post(request: Request, post_id: int):
blogs = read_blog_data()
post = blogs[post_id] if 0
第 2 步:设置 HTML 和 CSS
在模板文件夹中,创建以下 HTML 文件:
index.html
该文件将列出所有博客文章。
Blog App
Blog Posts
Create New Post
{% for post in blogs %}
{% endfor %}
post.html
该文件将显示博客文章的完整内容。
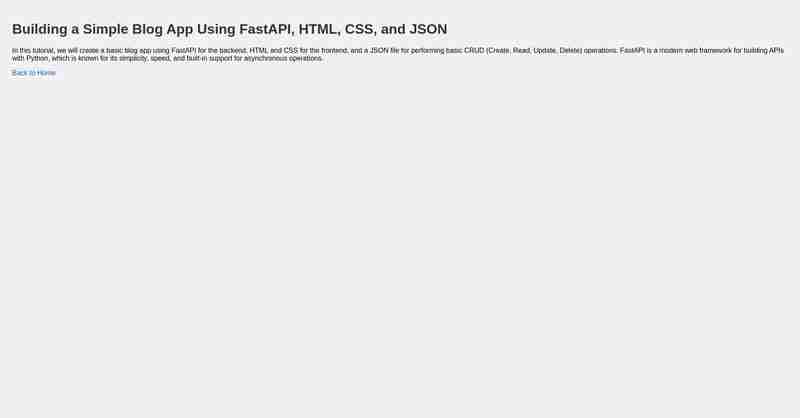
{{ post.title }}
{{ post.title }}
{{ post.content }}
Back to Home
create_post.html
该文件将包含用于创建新帖子的表单。
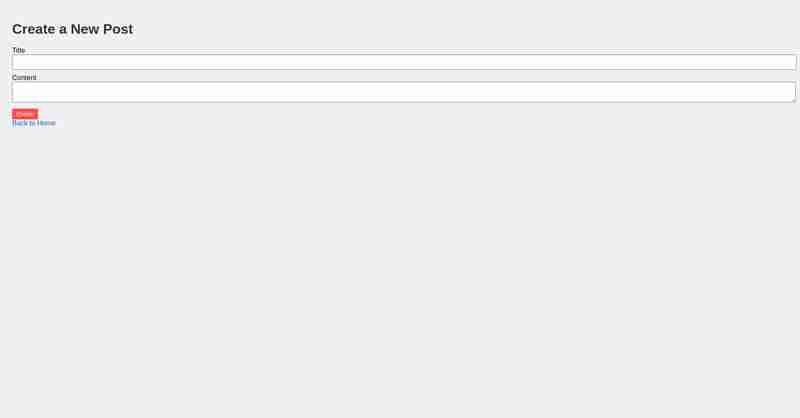
Create a New Post
Create a New Post
Back to Home
在static文件夹中,创建一个style.css文件以添加一些基本样式。
body {
    font-family: Arial, sans-serif;
    padding: 20px;
    background-color: #f0f0f0;
}

h1 {
    color: #333;
}

a {
    text-decoration: none;
    color: #0066cc;
}

.post {
    background-color: #fff;
    padding: 10px;
    margin-bottom: 15px;
    border-radius: 5px;
    box-shadow: 0 2px 4px rgba(0, 0, 0, 0.1);
}

button {
    background-color: #ff4d4d;
    border: none;
    padding: 5px 10px;
    color: white;
    border-radius: 3px;
    cursor: pointer;
}

button:hover {
    background-color: #ff1a1a;
}

input, textarea {
    width: 100%;
    padding: 8px;
    margin-bottom: 10px;
}
现在一切都已设置完毕,使用 Uvicorn 运行 FastAPI 应用程序。
uvicorn main:app --reload
在浏览器中访问http://127.0.0.1:8000,您应该看到博客首页。
作为作业,您可以使用数据库 ?️ 而不仅仅是 JSON 来创建全栈 Web 应用程序。
使用数据库,您可以添加更多功能、提高性能并增强整体 UI/UX。以获得更丰富的用户体验。
这就是本博客的全部内容!请继续关注更多更新并继续构建令人惊叹的应用程序! ?✨


免责声明: 提供的所有资源部分来自互联网,如果有侵犯您的版权或其他权益,请说明详细缘由并提供版权或权益证明然后发到邮箱:[email protected] 我们会第一时间内为您处理。
Copyright© 2022 湘ICP备2022001581号-3