Destiny 2 A Rising Chorus walkthrough: All steps, explained
A new mystery surrounding the Vex is ours to solve in Destiny 2. Here is how to complete every step of the A Rising Chorus quest in Destiny 2.
Table of contents
- Step 1: Begin your research with Failsafe in the H.E.L.M. in Destiny 2
- Step 2: Investigate the locations Failsafe marked on Nessus in Destiny 2
- Step 3: Collect unusual specimen in Destiny 2
- Steps 4 & 5: Take and discuss the research specimen with Failsafe in Destiny 2
- Steps 6 & 7: Continue your Nessus research in Destiny 2
- Step 8: Deploy Failsafe’s proximity sensor in Exodus Black in Destiny 2
- Step 9: Deploy Failsafe’s proximity sensor in Glade of Echoes in Destiny 2
- Steps 10 & 11: Find the optimal location to deploy scanners and collect specimen in Destiny 2
- Step 12: Deliver the newly collected specimen in Destiny 2
- Step 13: Complete a run of Breach Executable and locate NES002-C in Destiny 2
- Steps 14 & 15: Check Failsafe’s initial analysis and deliver your research to Failsafe in the H.E.L.M. in Destiny 2
- Step 16: Failsafe is analyzing the data in Destiny 2
Step 1: Begin your research with Failsafe in the H.E.L.M. in Destiny 2
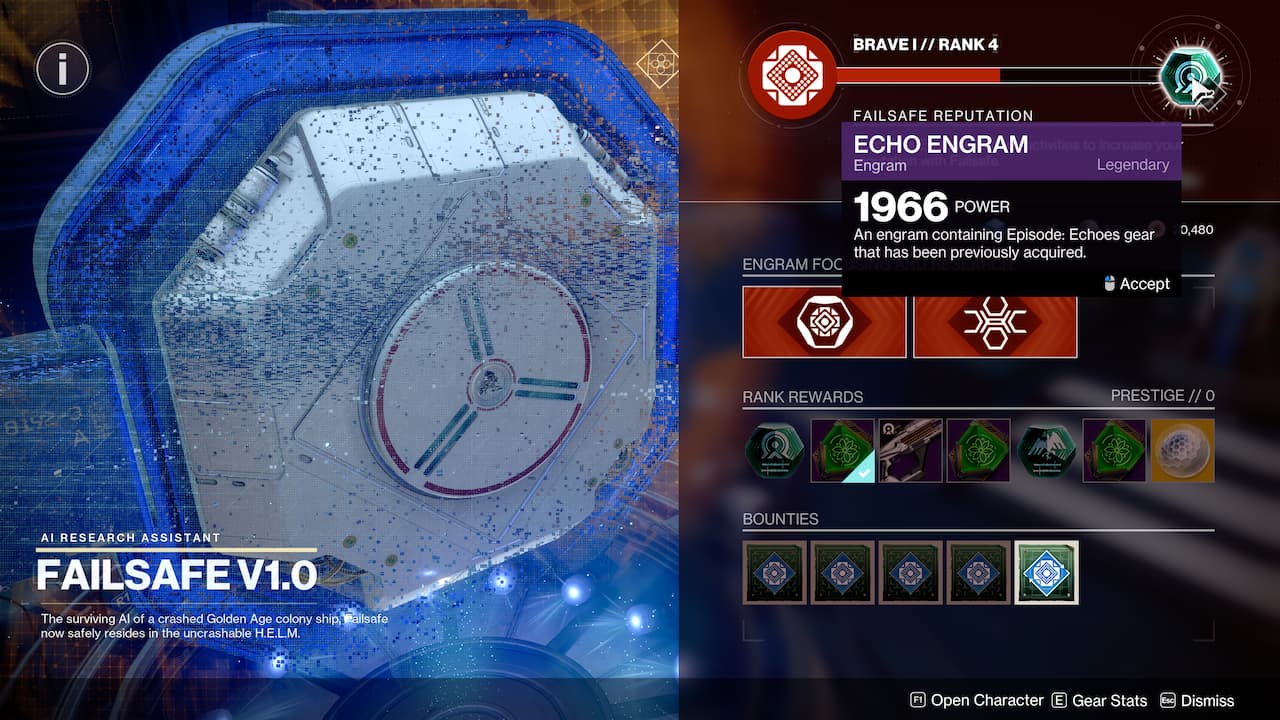
The very first step in A Rising Chorus will probably be already done given that the whole quest unlocks after completing A Familiar Voice, the intro quest that introduces Nessus’s strange Vex activity and the Breach Executable mission. So, you are pretty much done with this step. Moving on!
Step 2: Investigate the locations Failsafe marked on Nessus in Destiny 2
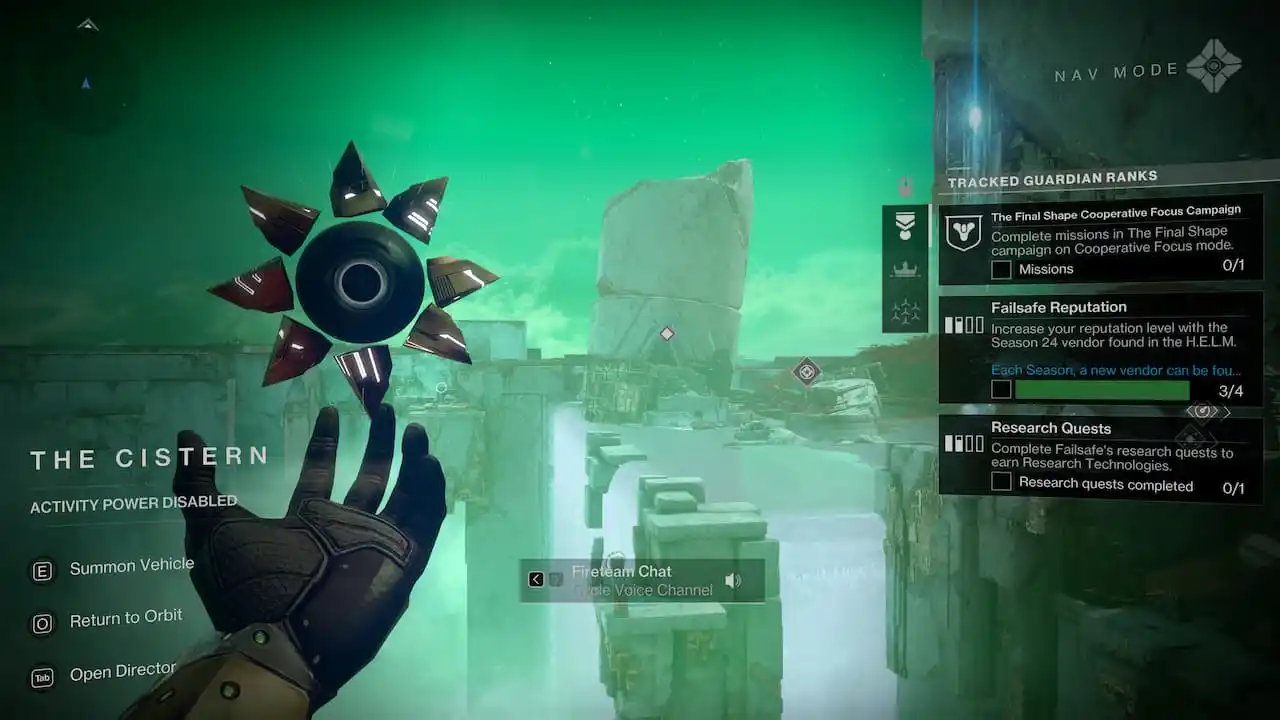
This will be the actual first on-the-field step for Guardians to complete. You will have to collect three different samples from Nessus – named first, second, and third samples; Failsafe is very practical with naming apparently. So, let’s head out to Nessus and travel to The Cistern landing zone.
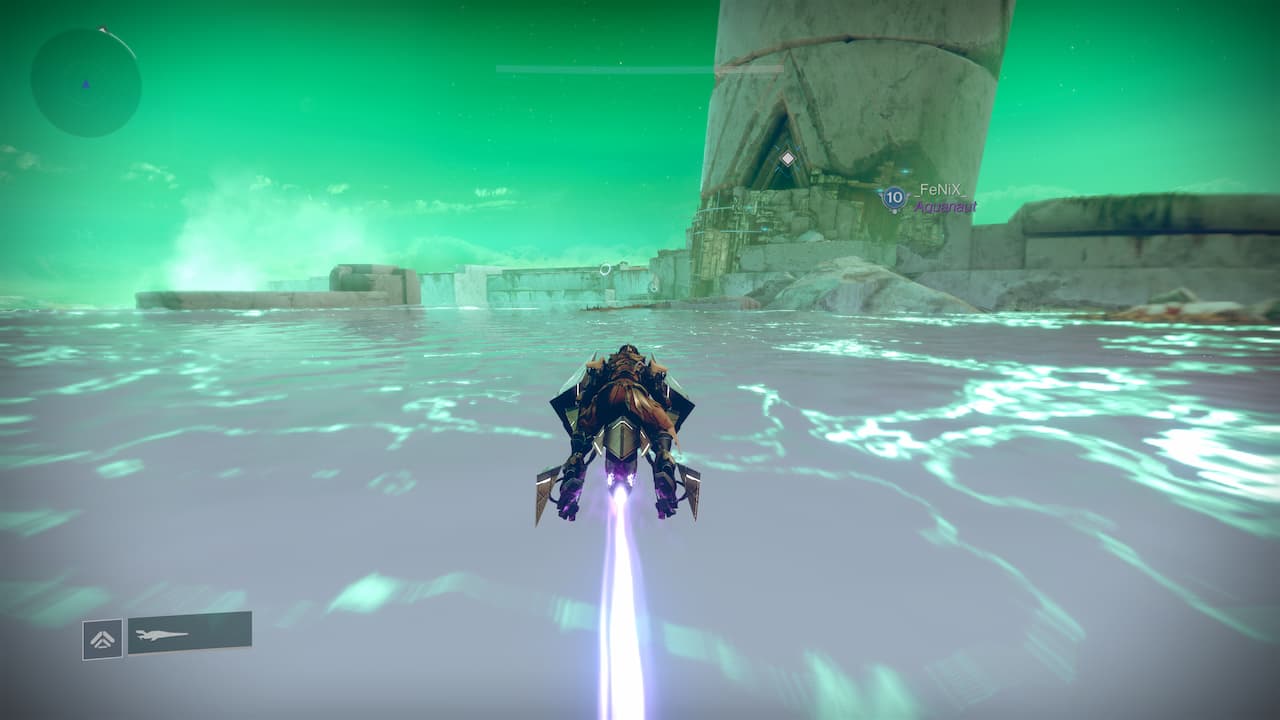
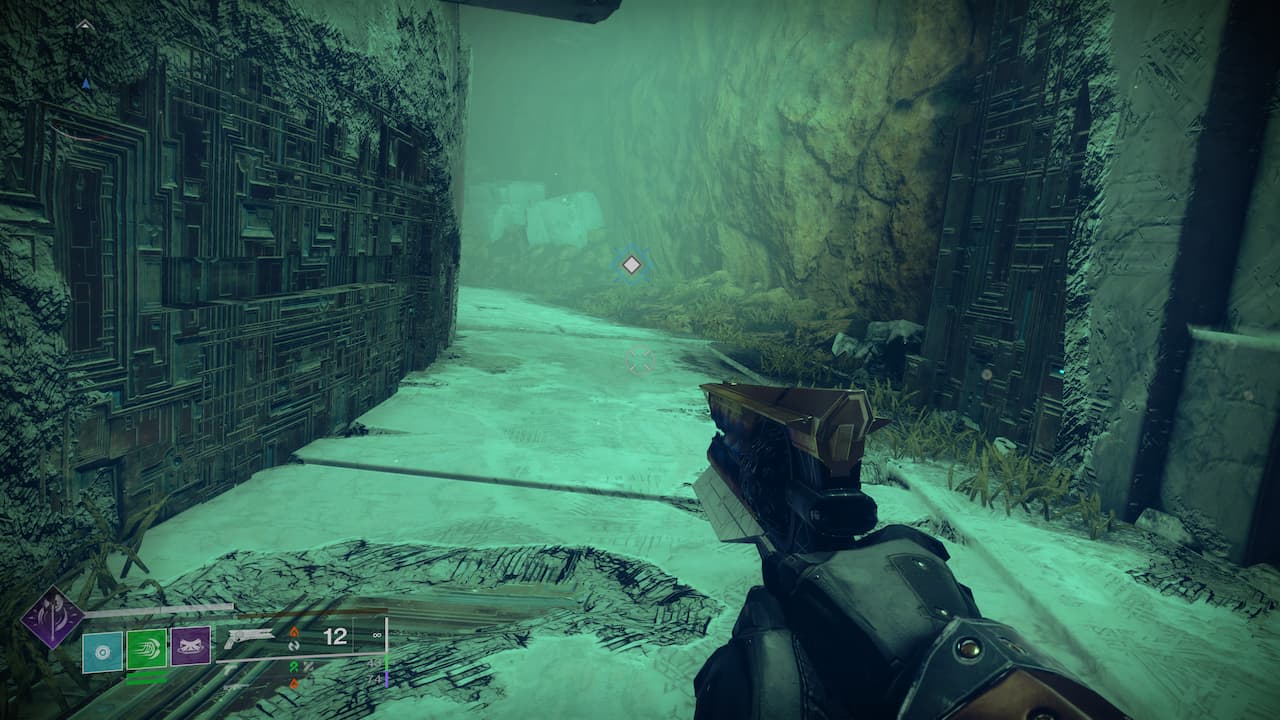
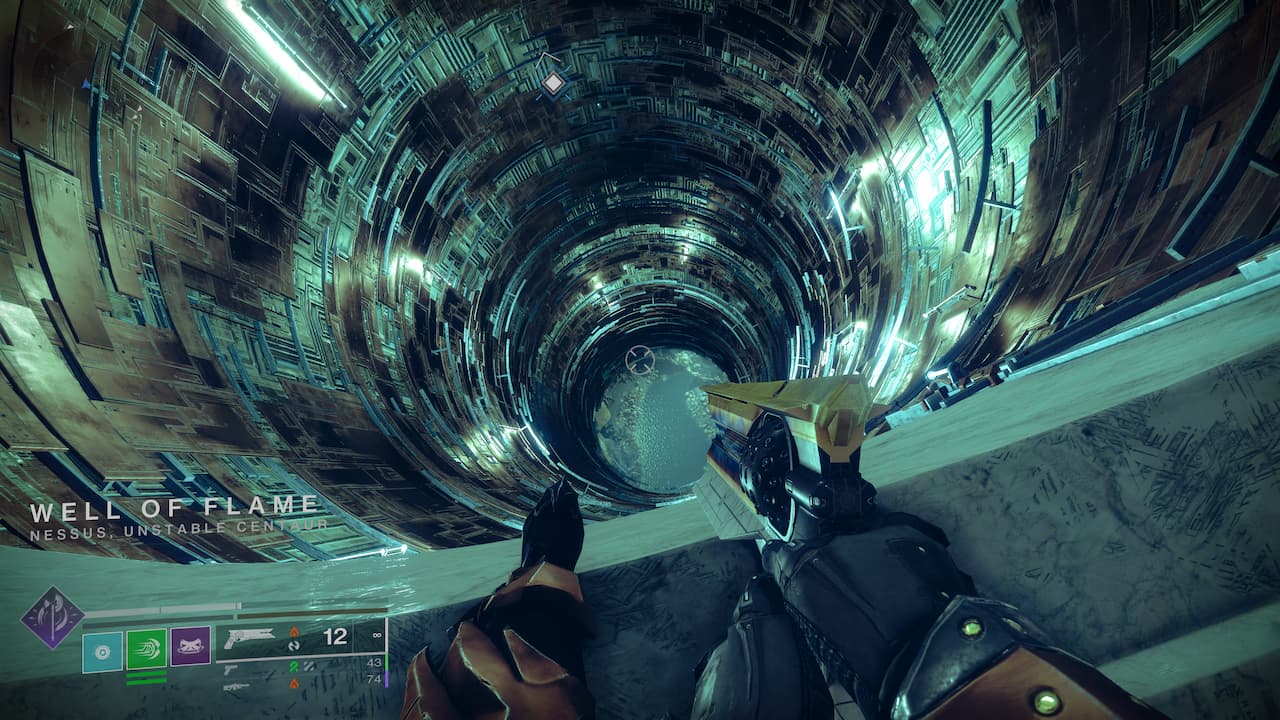
Thankfully, Failsafe has done most of the job for us, and all the samples are already located. You will see the on-screen marker directing you toward the Well of Flame, so travel there using your Sparrow, otherwise the whole Radiolaria sea will end up killing you in the process.
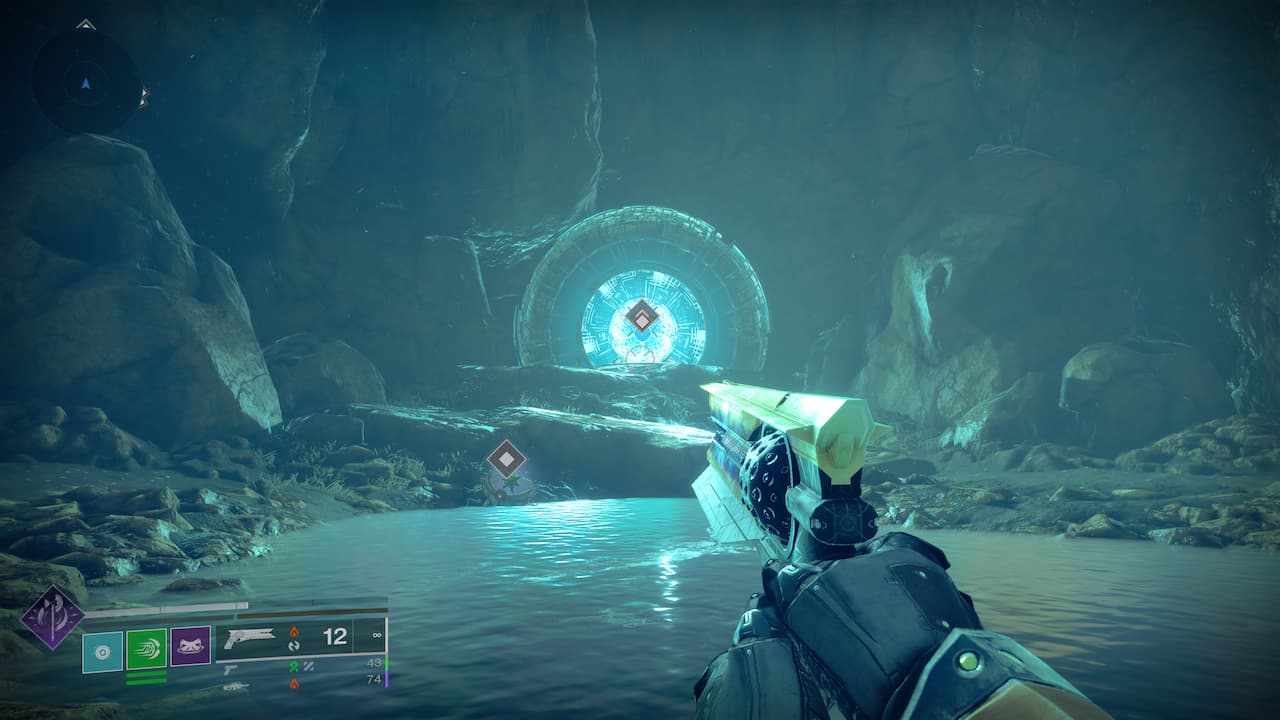
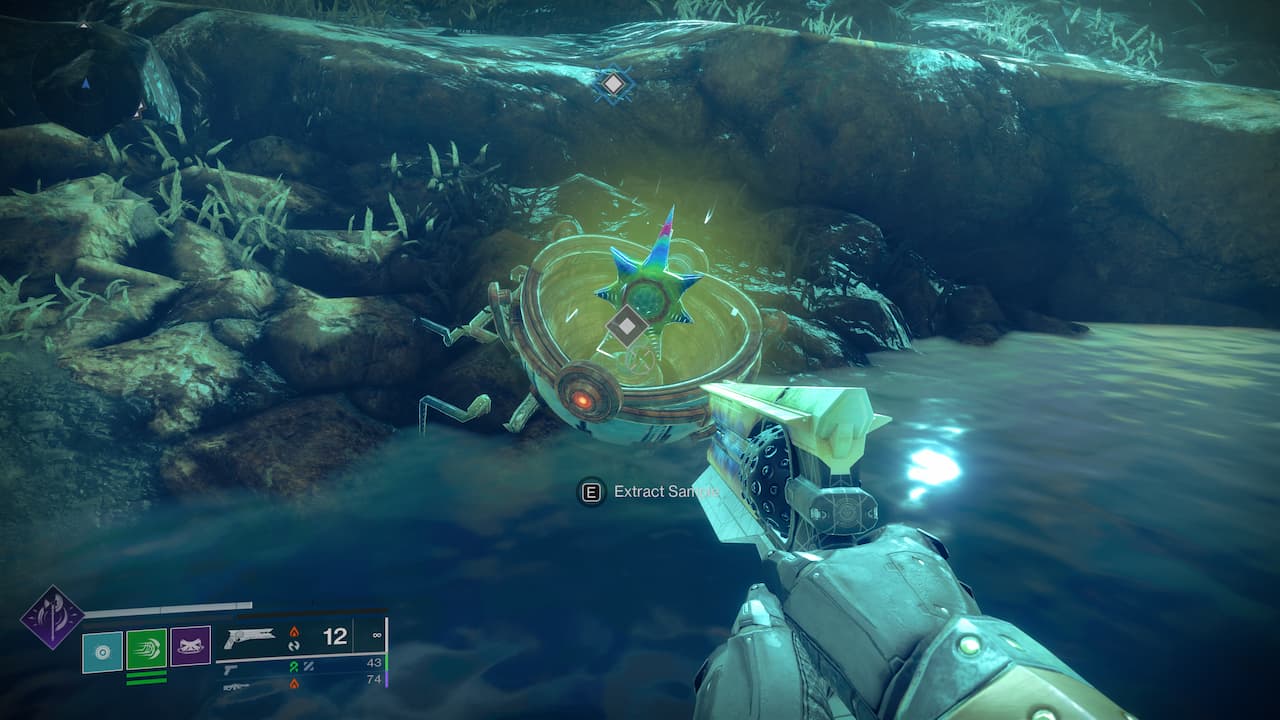
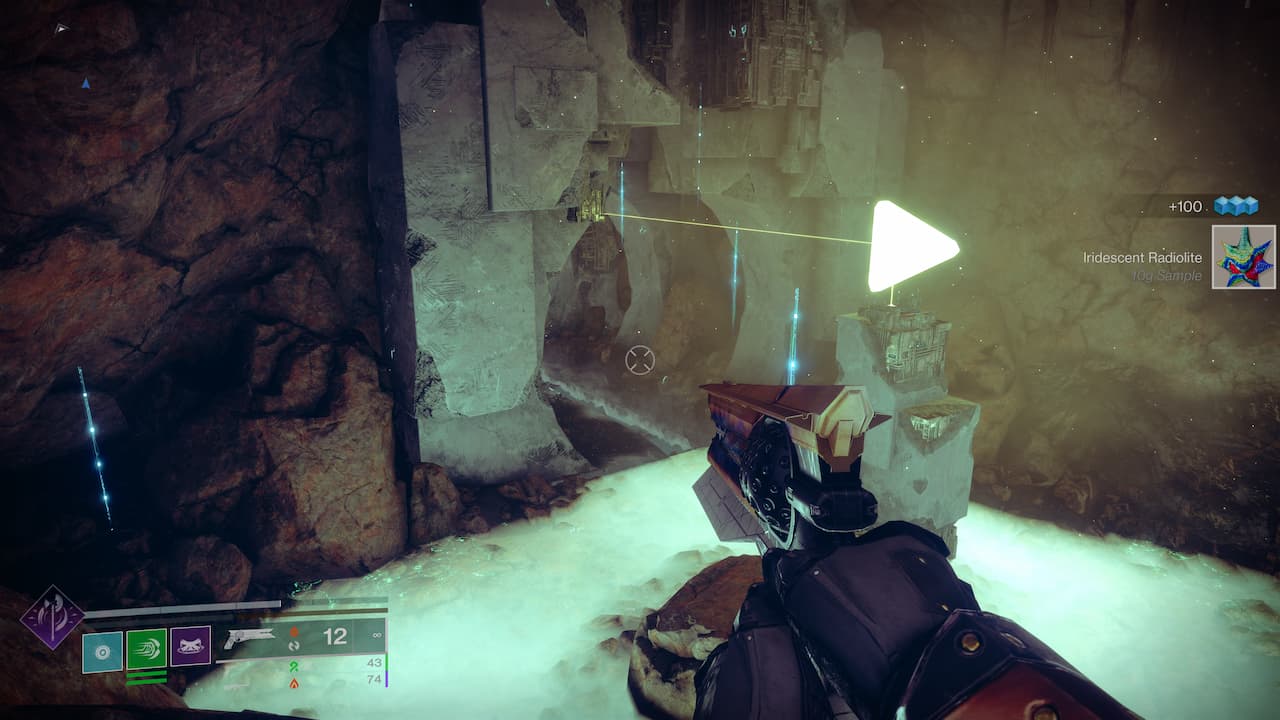
Head inside and jump down the huge well – don’t forget to double jump unless you want to become Guardian mash potatoes. Down the well, you will find a portal and the first sample you need to collect. Do so and then go through the portal.
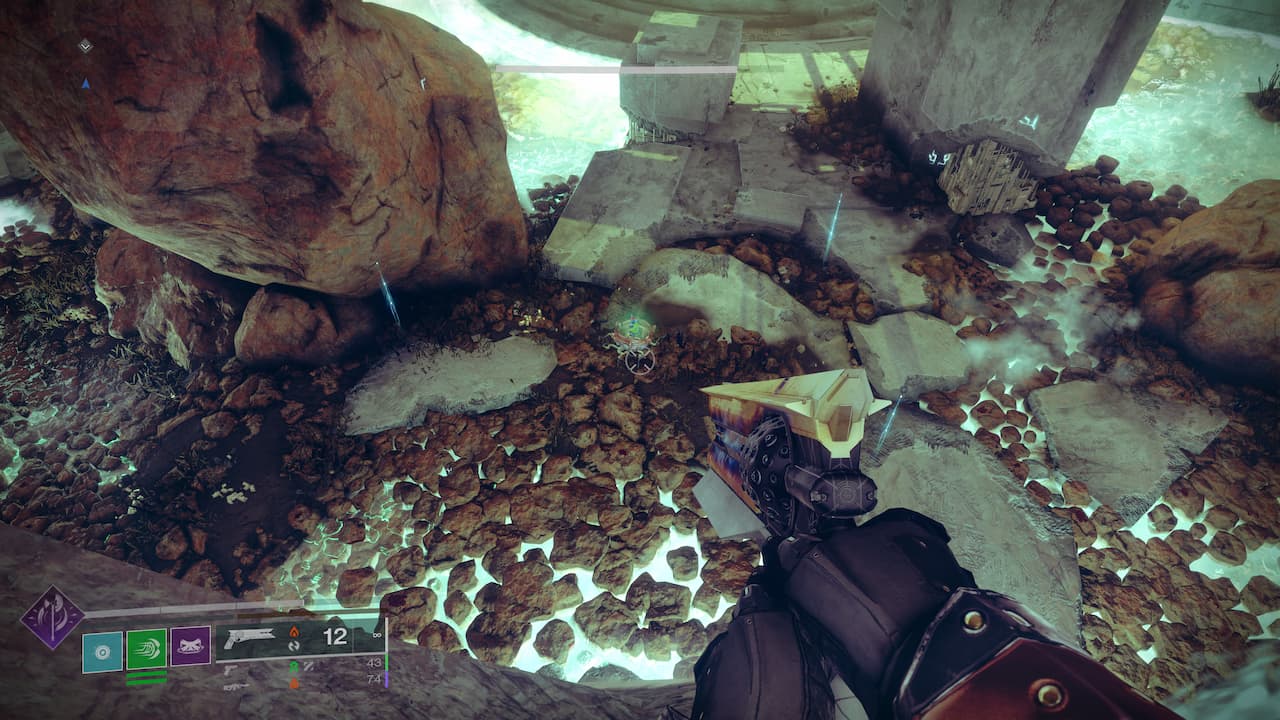
On the other side of the portal, look down to your left and you will see the second sample waiting for you and some Radiolaria below, so tread lightly.
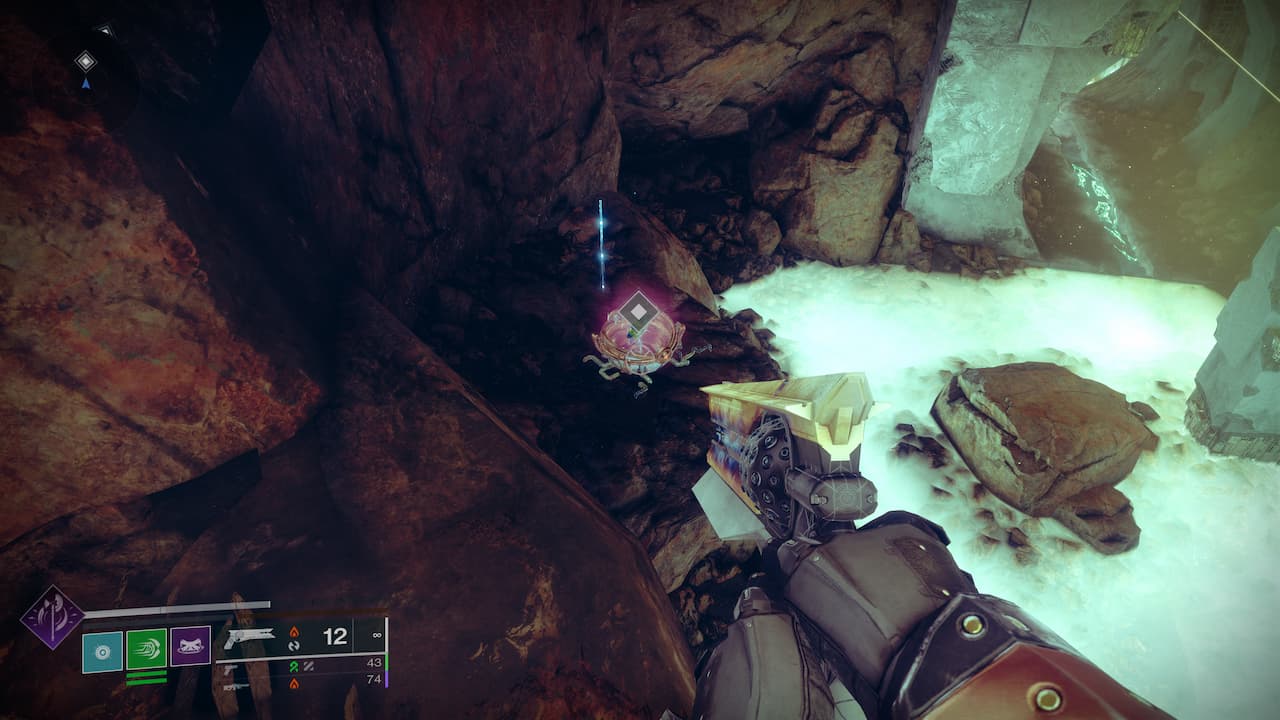
Follow the tunnel and you will get to a room that looks like it was built specifically for a boss fight, but that’s probably just my imagination, right? Anyway, drop down and you will find the final sample.
Step 3: Collect unusual specimen in Destiny 2
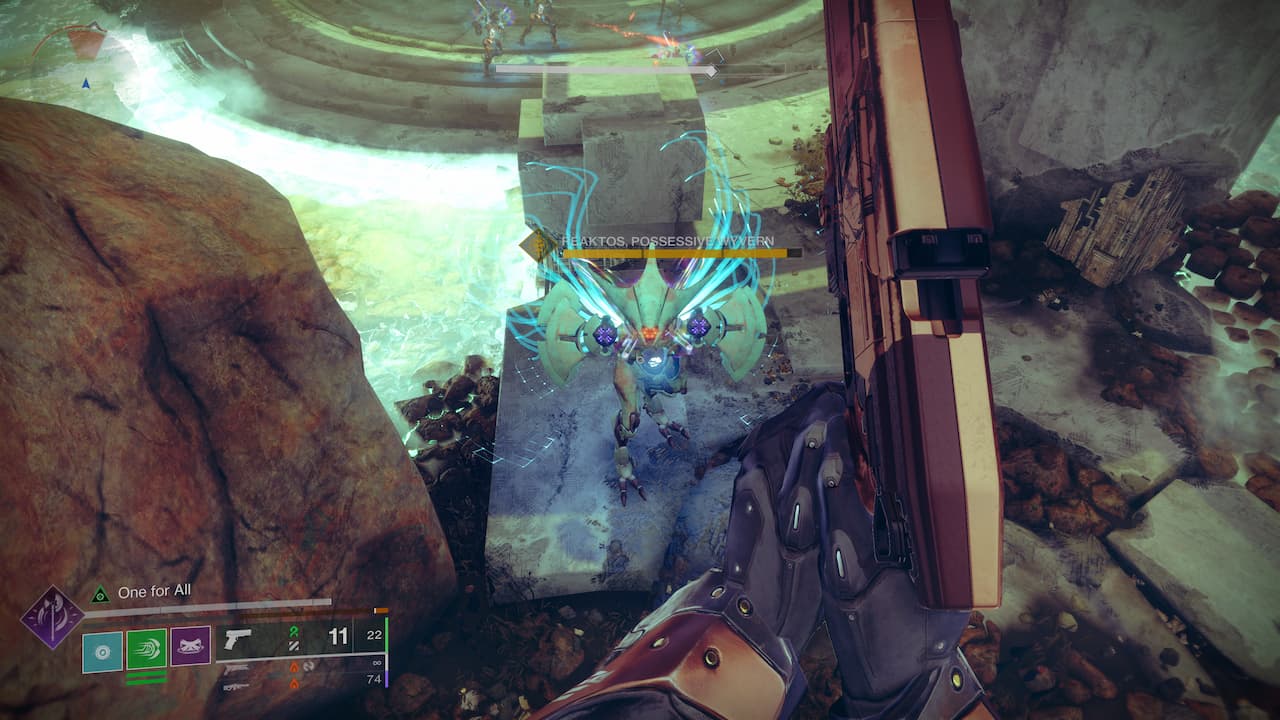
After collecting the third and final sample, the Vex will try to trap you and a Wyvern and a bunch of Vex will appear – I knew it wasn’t going to be so easy. The fight itself is pretty easy, just shoot at every Vex that appears and take care of the Wyvern with heavy weaponry.
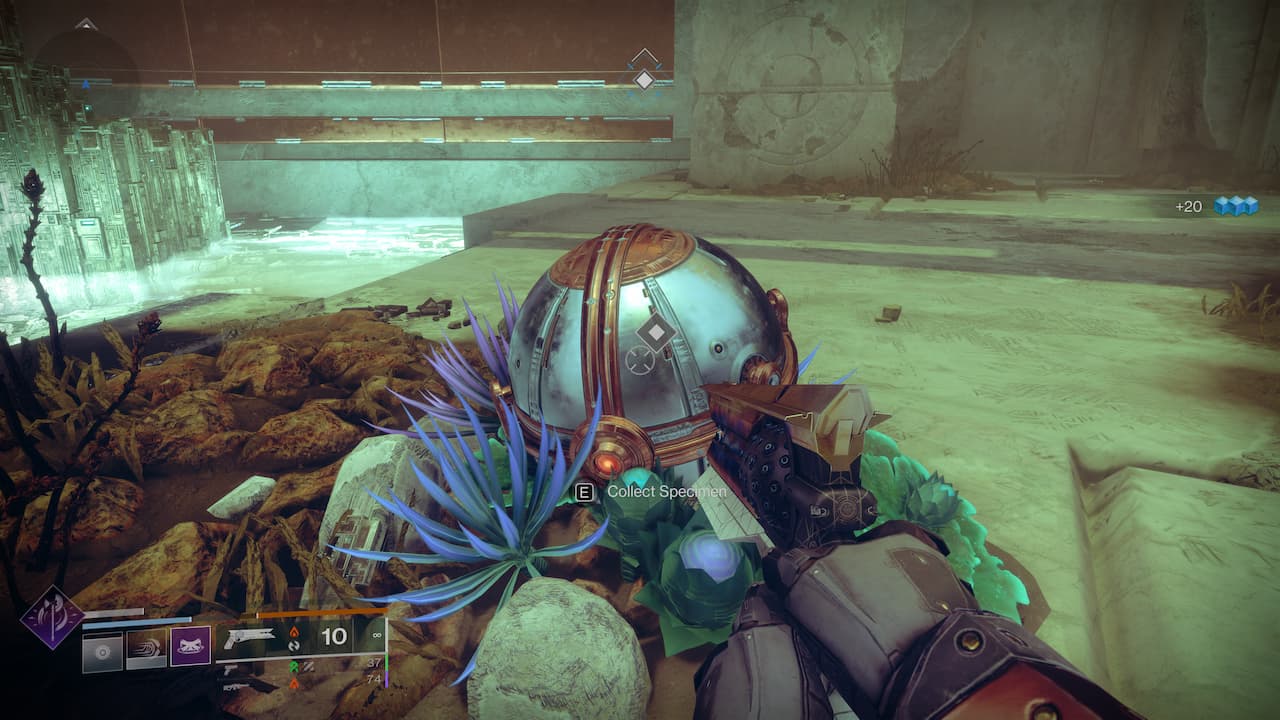
Once you are done with every single Vex, you will find that the unusual specimen is lying on the floor. Convenient, I know. Take it now and you will have everything you need to return to the H.E.L.M. and talk to Failsafe.
Steps 4 & 5: Take and discuss the research specimen with Failsafe in Destiny 2
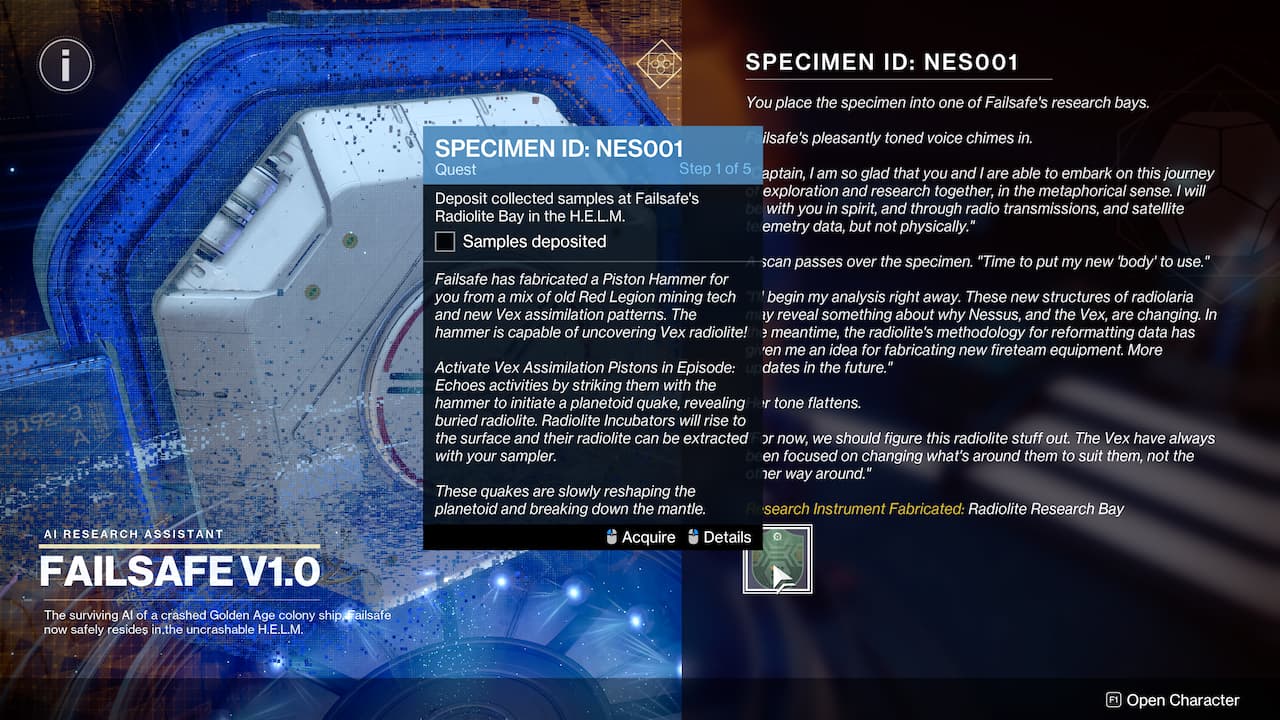
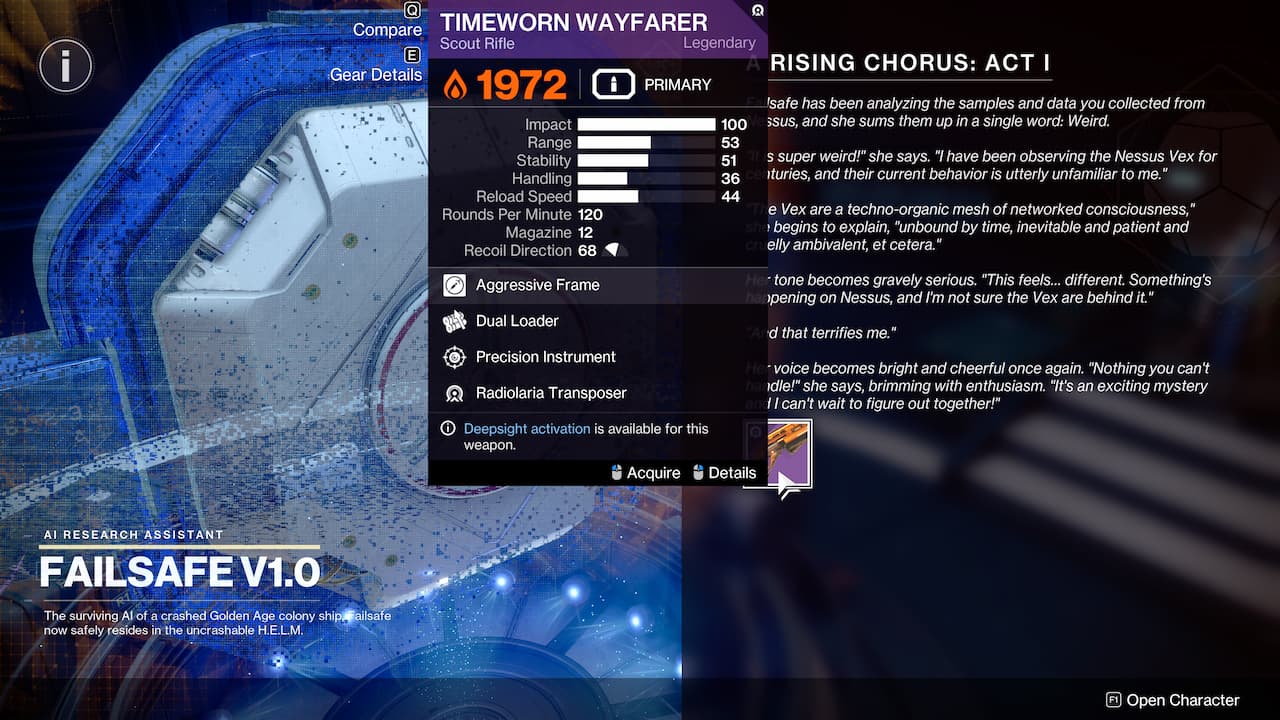
The only thing you need to do is to report to Failsafe by interacting with her and she will note that the identity behind the Vex’s strange behavior is a mystery that we will probably want to research more. The specimen we collected will be named NES001 and will open up a new quest and feature in the H.E.L.M.: the Radiolife Research Bay. She will also reward you with a Timeworm Wayfarer scout rifle and then leave you to be.
Steps 6 & 7: Continue your Nessus research in Destiny 2
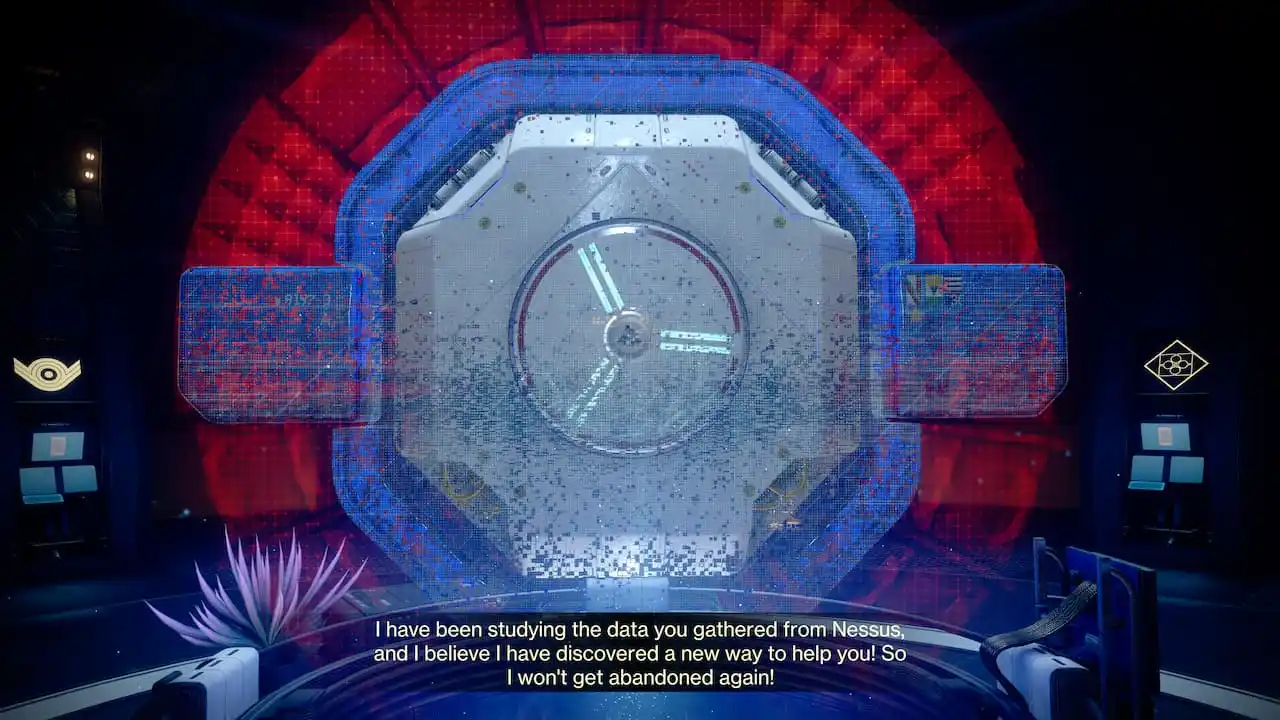
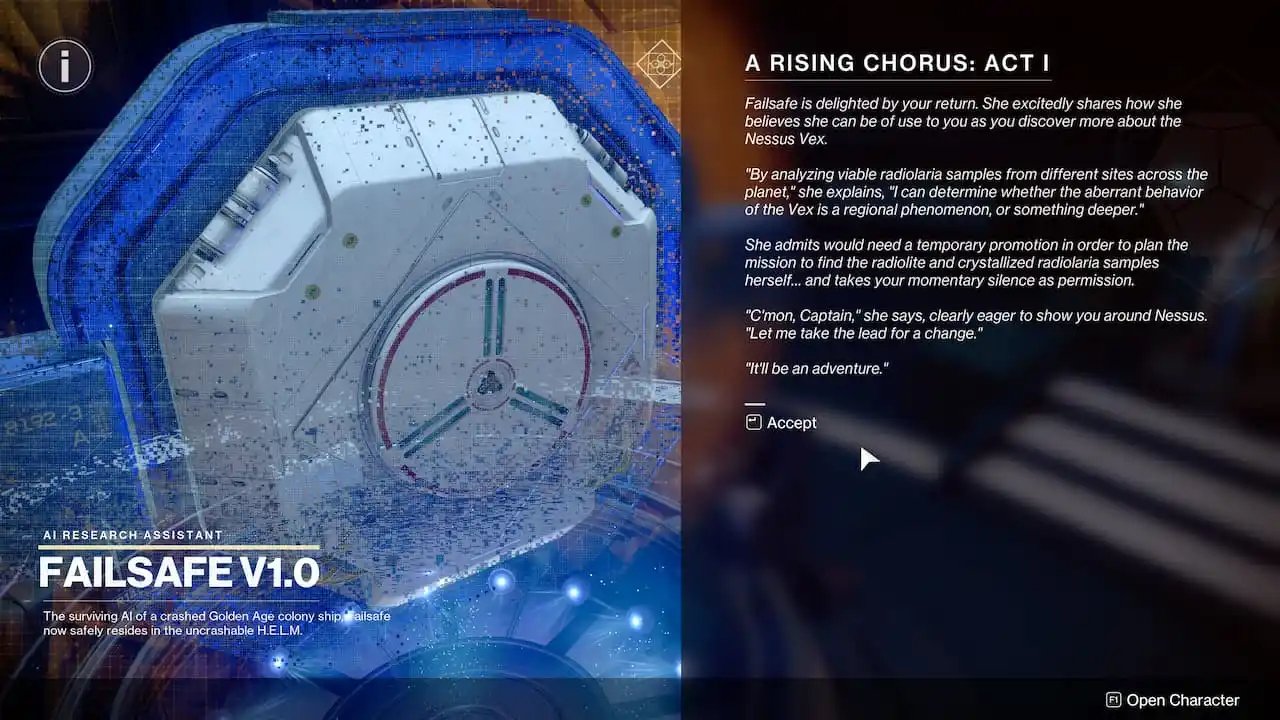
Step 6 in the A Rising Chorus quest is just waiting for Failsafe to conclude her data analysis, which is how Bungie time-gates its episodic and seasonal quests. Step 7 is the first step of the quest’s Part 2 and will have you report back to Failsafe, who will task you to get back to Nessus to test a new way to determine the origin of the aberrant Vex behavior – and she will also shame us passively aggressively for abandoning her for so long.
Step 8: Deploy Failsafe’s proximity sensor in Exodus Black in Destiny 2
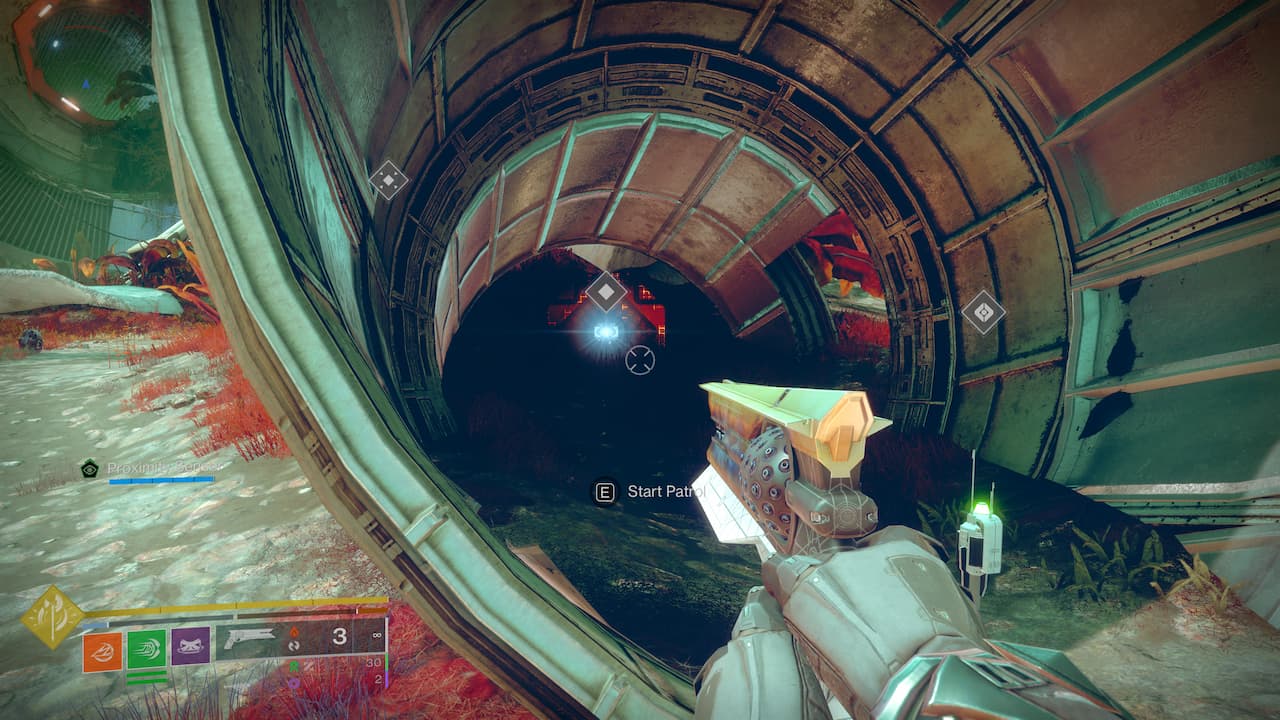
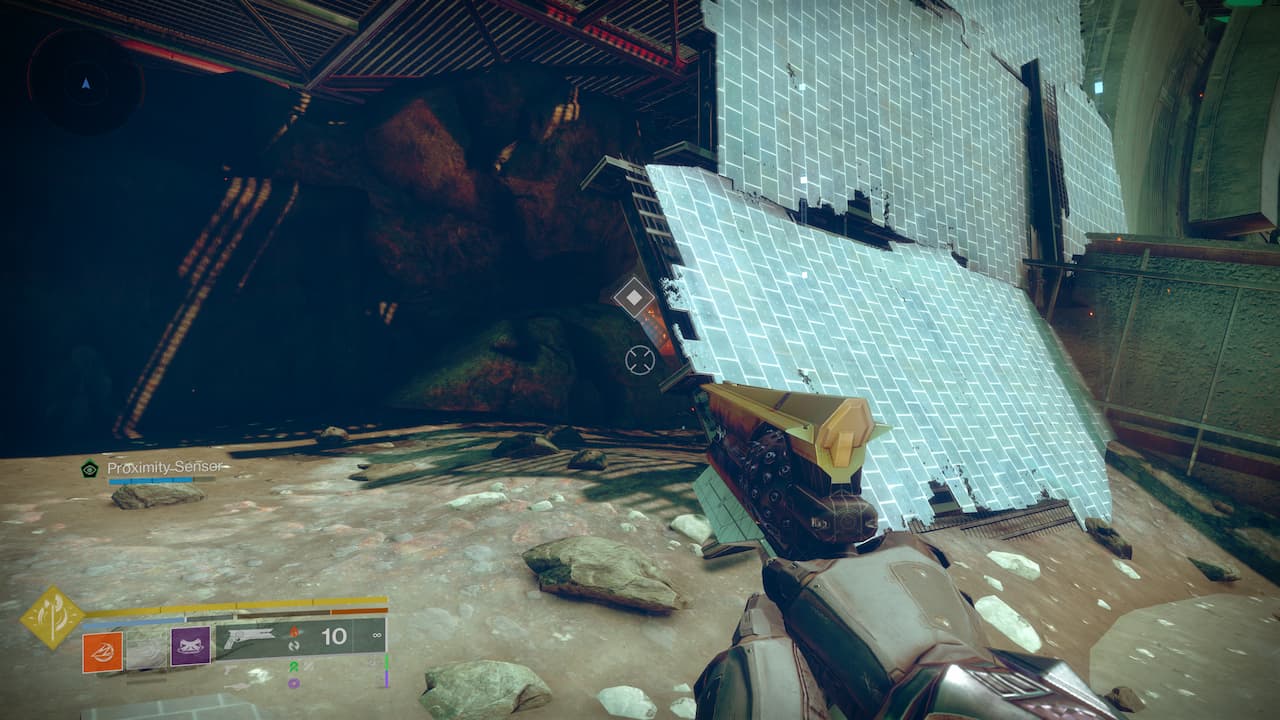
Head to Exodus Black in Nessus and you will discover a new feature in your HUD: the Proximity Sensor. Disregard the comically placed beeps that Failsafe will repeat through the coms since all you need to focus on is the Proximity Sensor bar which will fill up the closer you are to the region spot you need to activate Failsafe’s scan. In Exodus Black, you can find it inside an empty engine remains.
Step 9: Deploy Failsafe’s proximity sensor in Glade of Echoes in Destiny 2
Head to the Glade of Echoes area to the south and follow your Proximity Sensor. You will find the scan spot behind some metal plates in the area. Despite scanning with the aforementioned places, the data scan will not be successful, so you will have to travel to a third area to complete it.
Steps 10 & 11: Find the optimal location to deploy scanners and collect specimen in Destiny 2
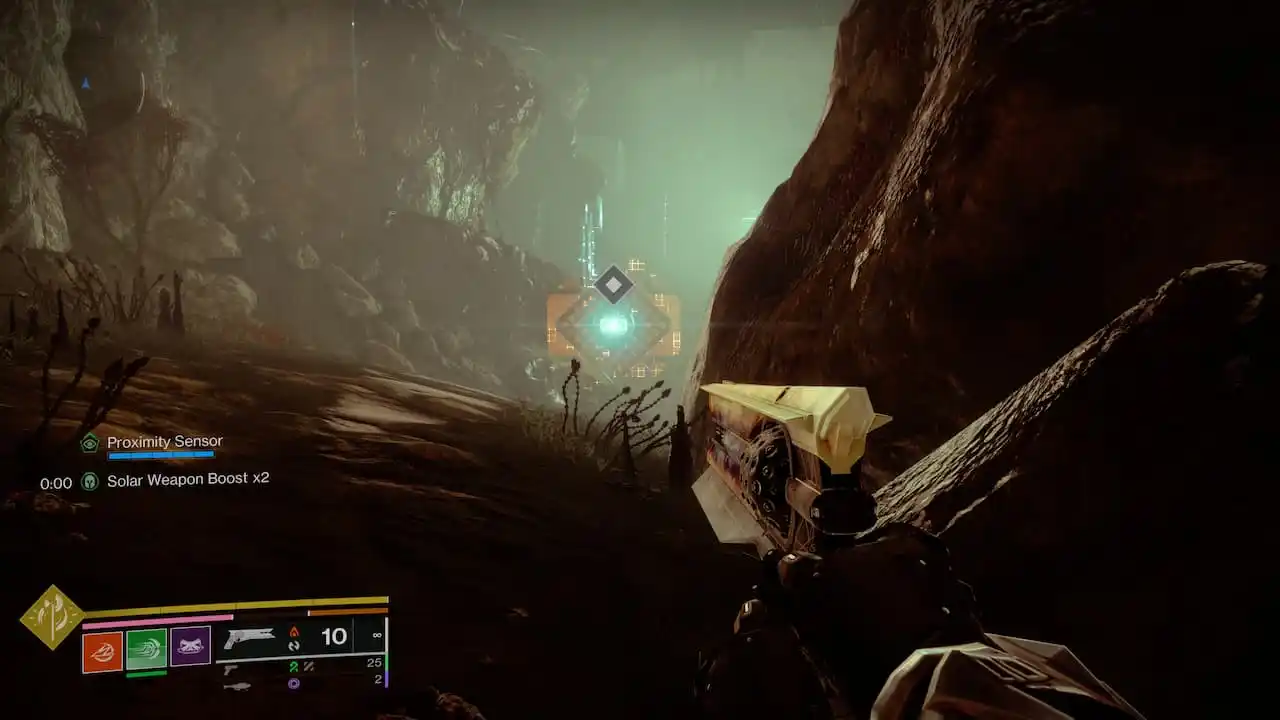
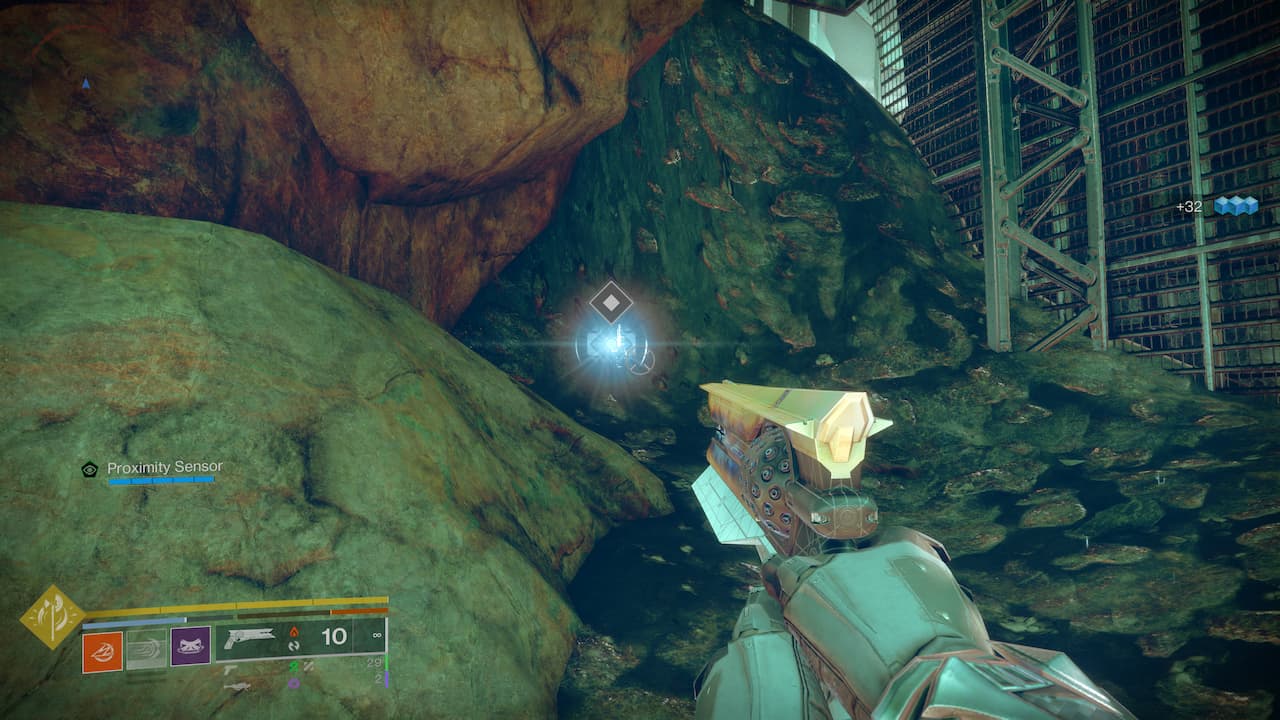
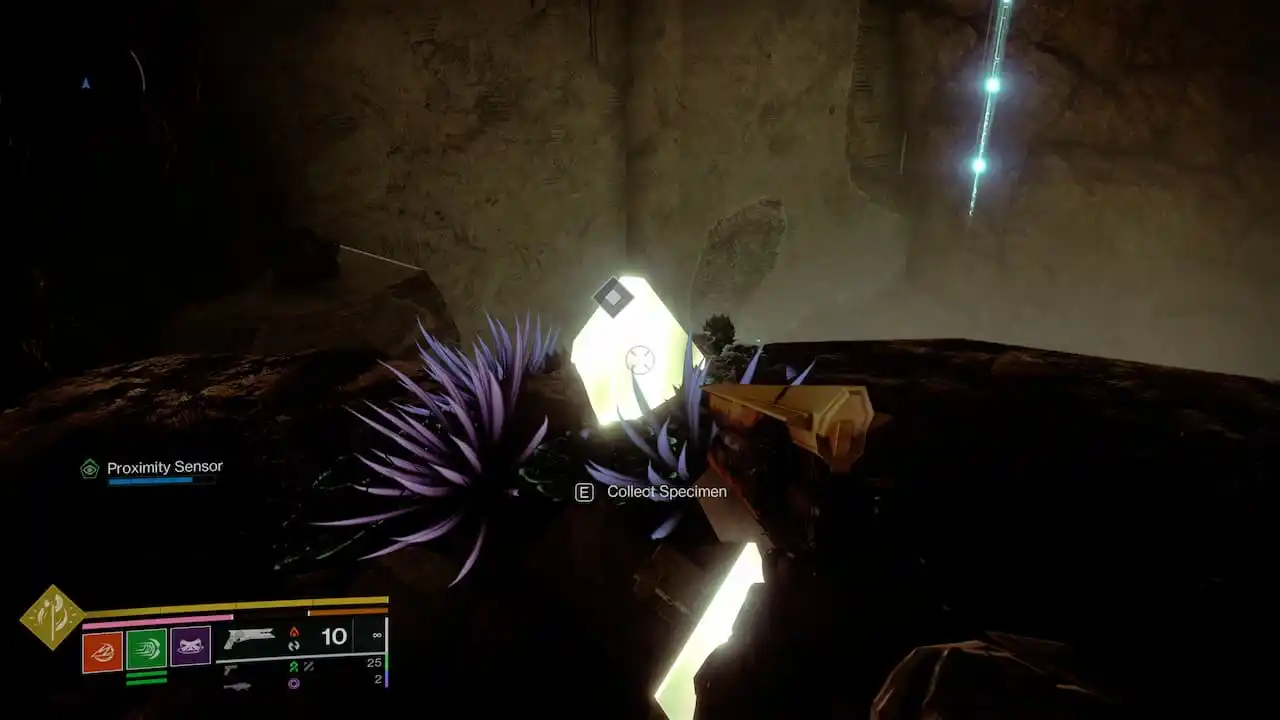
Travel to the Hallows area in the Arcadian Valley and head underground. You will find the optimal location just beside a rock formation. Interact with it and you will be tasked with collecting a specimen, which is the next step in the quest. Fortunately, the specimen is just above you on a rock platform, so collect it and you will be ready for the next step.
Step 12: Deliver the newly collected specimen in Destiny 2
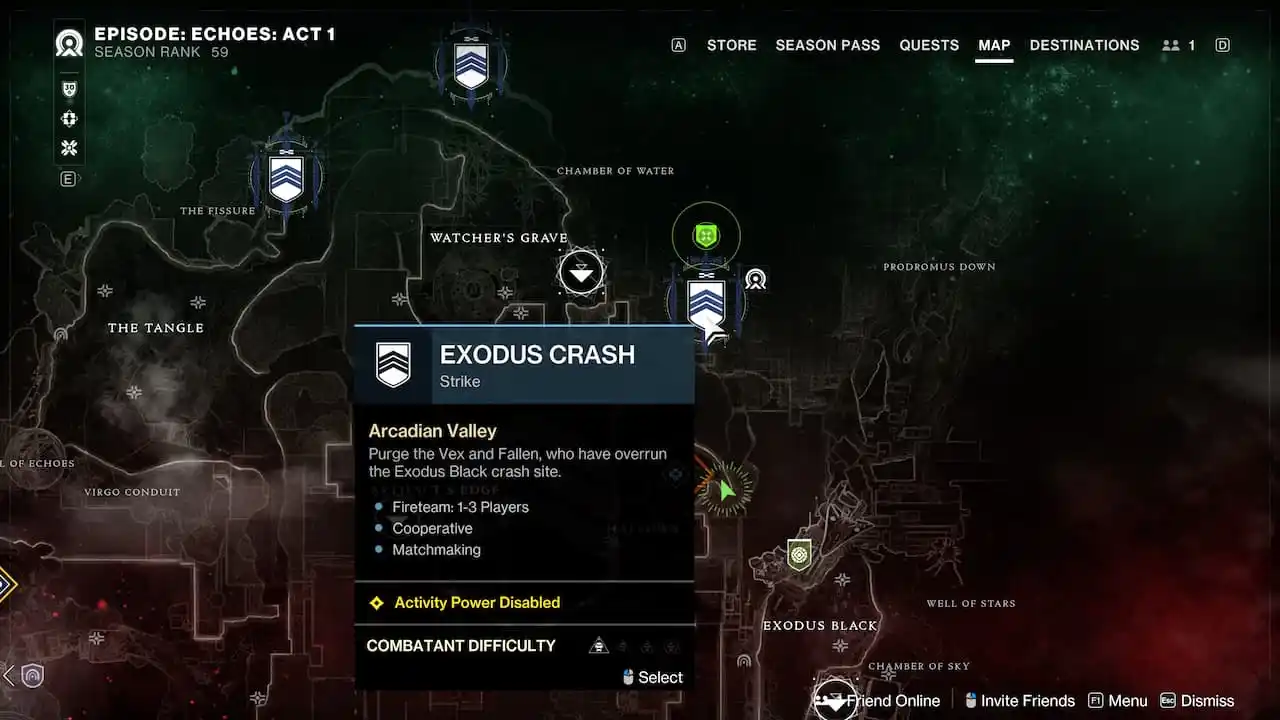
You will have to deliver this specimen to the mainframe room while you complete the Exodus Crash strike on Nessus. It is a very straightforward strike where you will have to investigate the crash site while clearing pathways, deactivating barriers by overloading them and fighting lots of incoming Vex enemies.

There are two specific parts of the Exodus Crash strike you should pay attention to. One is disabling the barrier in an enclosed room where you will need to guard your Ghost by remaining close to it and defeating rounds of Fallen enemies as well as overloading generators out in the open by defeating powerful Vex enemies and depositing the charges in the generators.
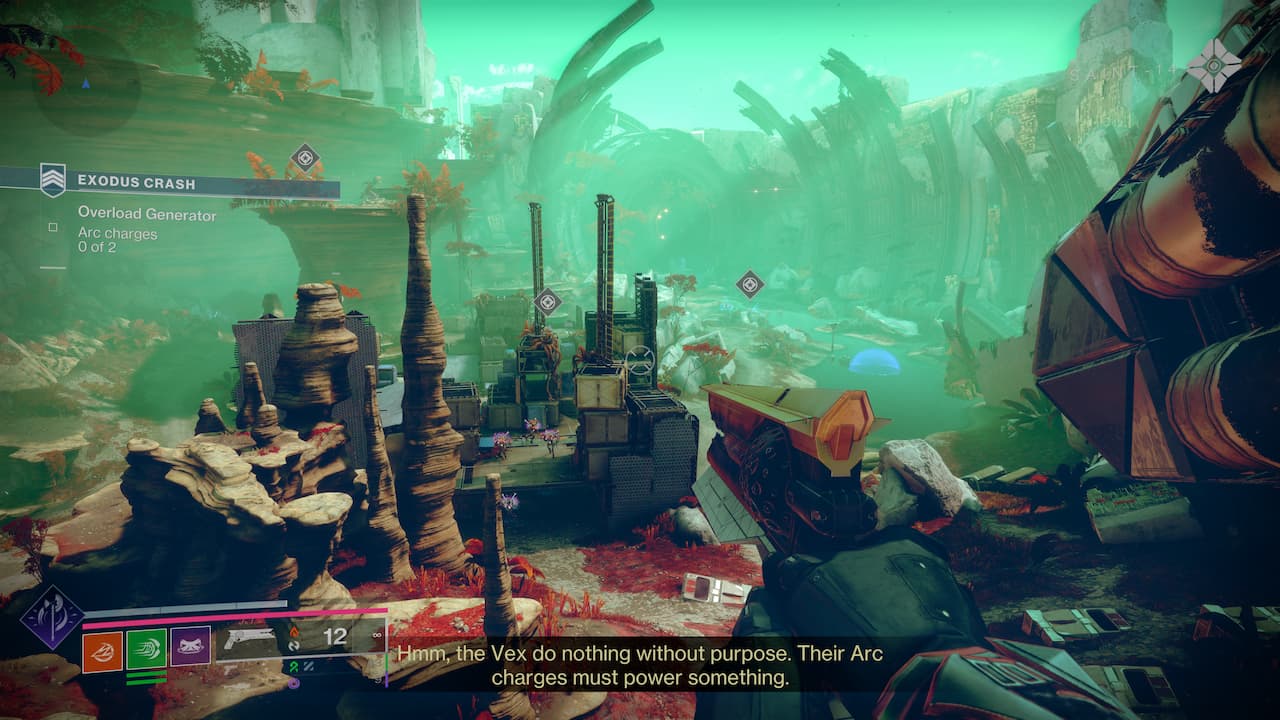
Other than that, the mission is pretty easy to follow and you don’t have to finish it if you don’t want to. On the way to the Exodus Black’s Aft, you will visit a room in complete darkness. You will find the location to deposit the collected specimen right at the entrance.
Step 13: Complete a run of Breach Executable and locate NES002-C in Destiny 2
The next step is completing the Breach Executable activity we have previously completed during the A Familiar Voice quest. If you haven’t completed the activity, you will have to complete two different rounds of objectives like fighting Vex, capturing zones, destroying Gestating Radiolaria Pods, etcetera, which are chosen at random. Then you will have to face a boss.
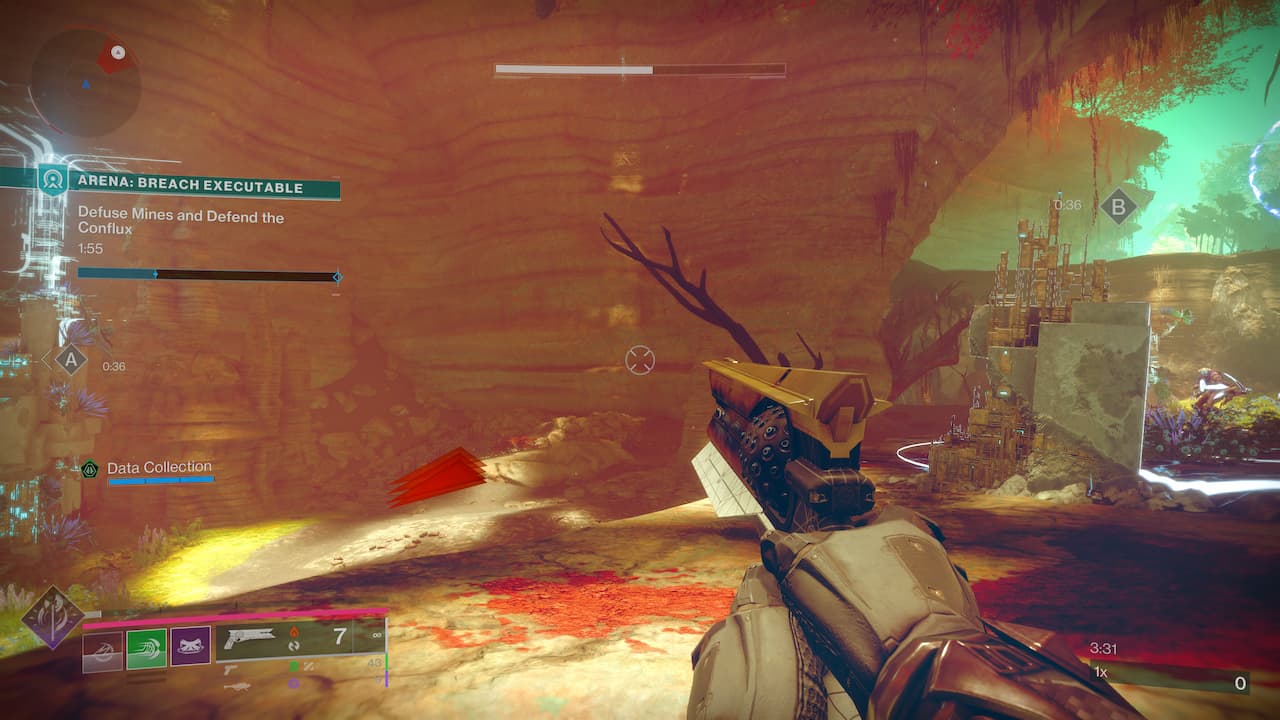
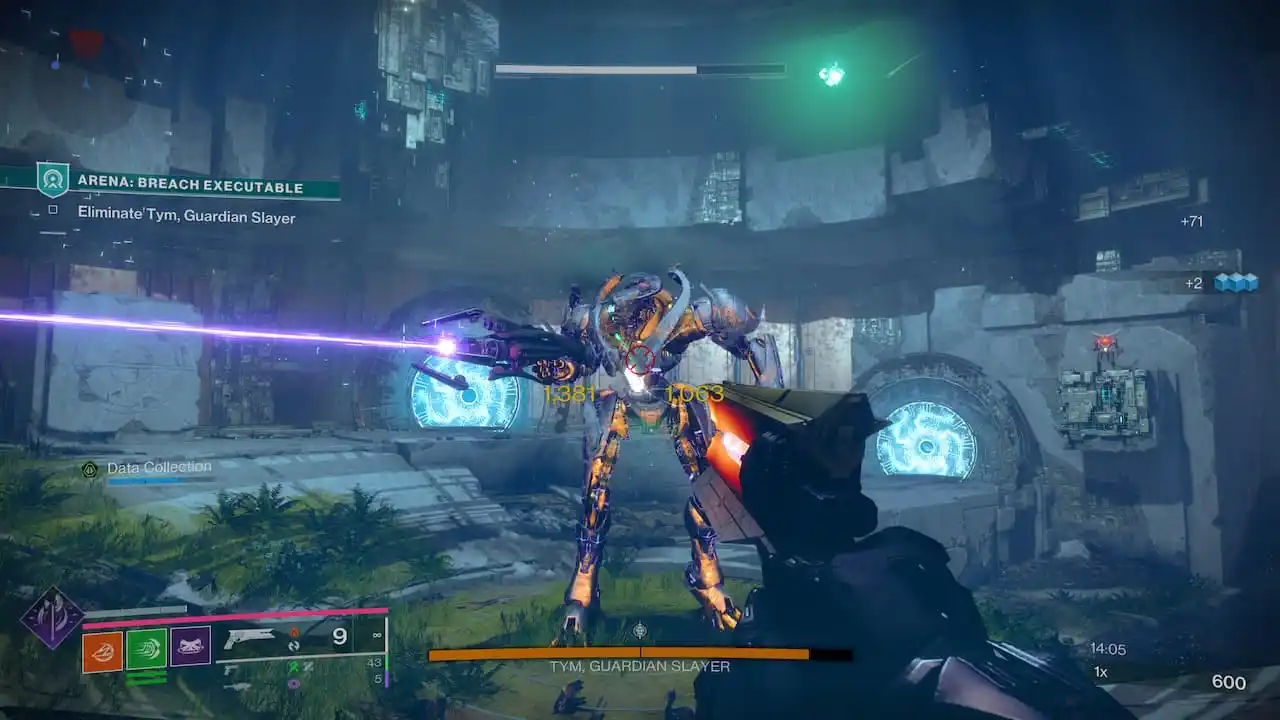
Echoes Week 2 features a new round objective that revolves around hacking a Conflux, with Guardians defending Ghosts against enemy hordes and defusing mines. Not only that, but there is a new Vex boss named Tym, Guardian Slayer, with the room featuring rotating red lasers, just to spice things up.
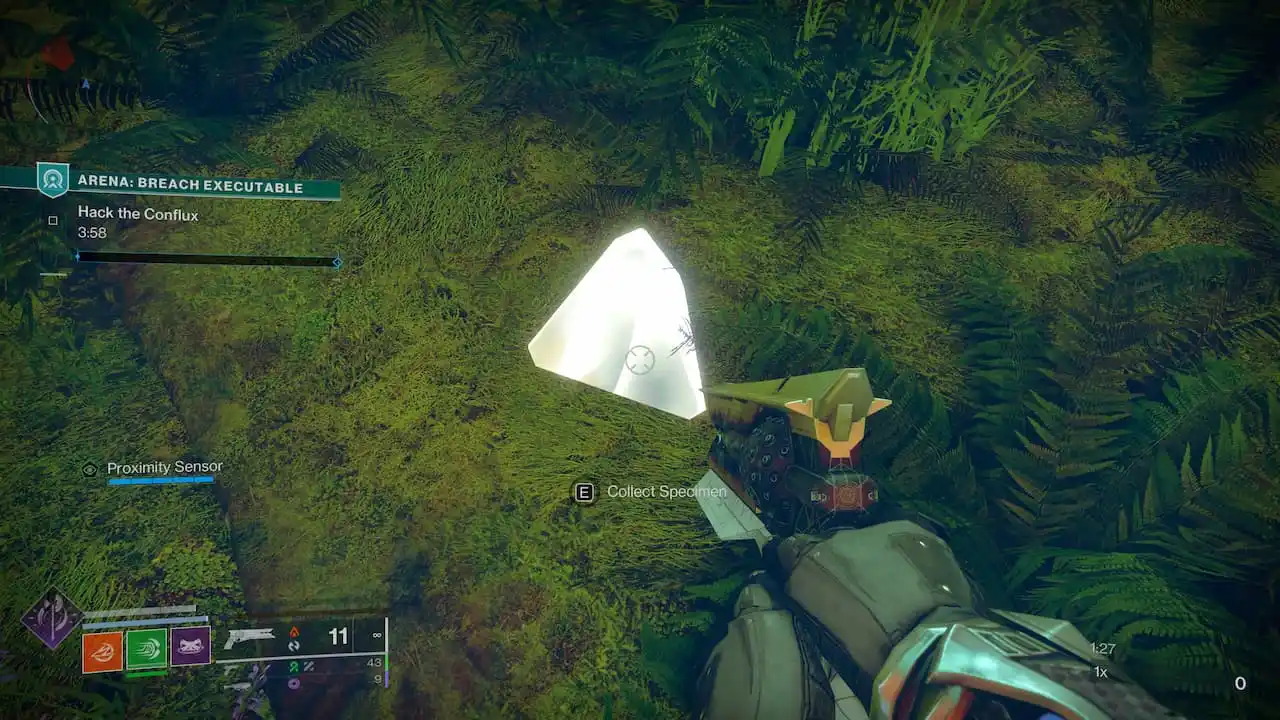
The most important thing in this step, other than completing the activity itself, is to pick up the NES002-C specimen by using, once again, your Proximity Sensor. It can be picked up as soon as you spawn in the activity, so don’t progress through the mission without picking it up first.
Steps 14 & 15: Check Failsafe’s initial analysis and deliver your research to Failsafe in the H.E.L.M. in Destiny 2
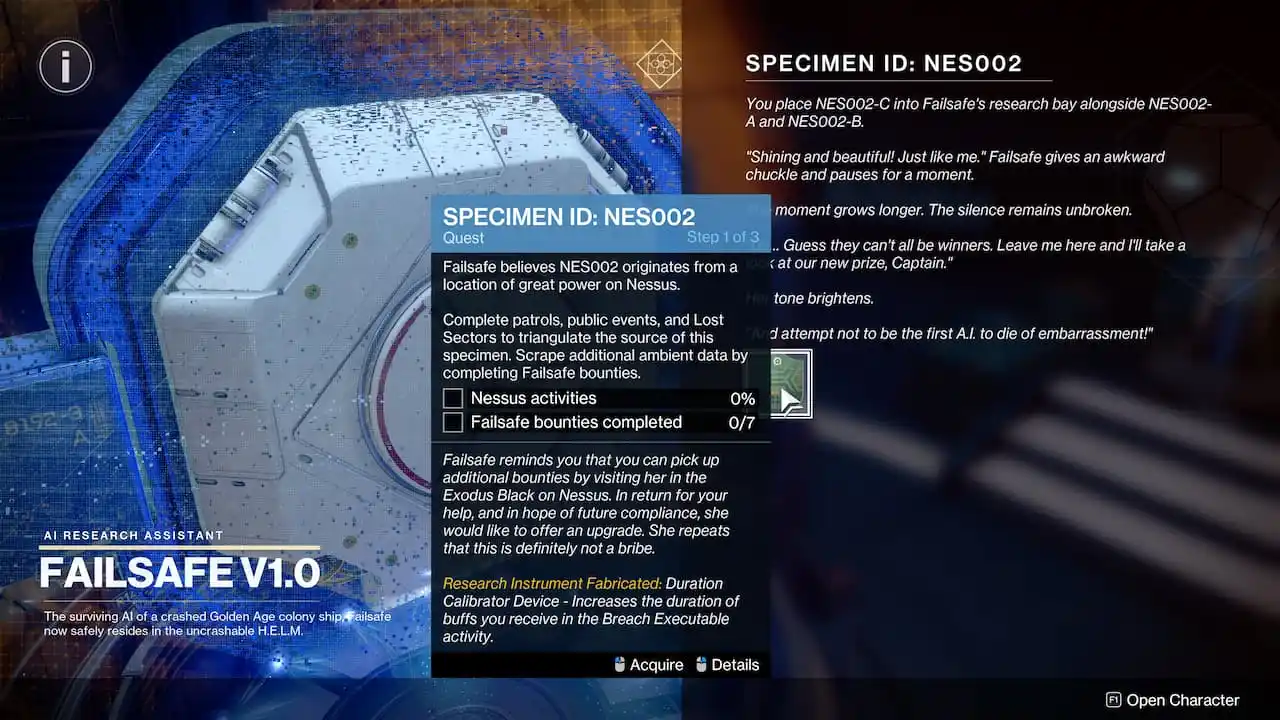
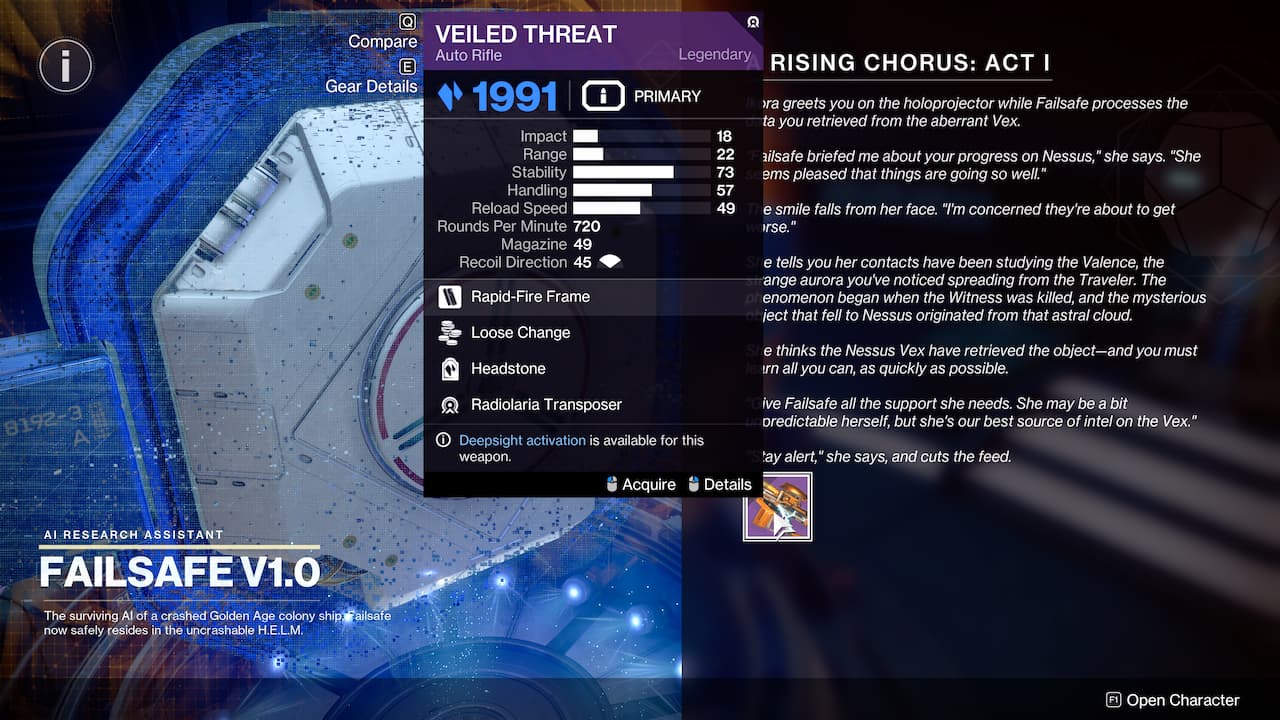
Steps 14 and 15 take place and are completed at the same time in the H.E.L.M. Interact with Failsafe to deliver the new data and then Ikora will appear and give you some insight about what transpired after the Witness was killed and how it has influenced what happened in Nessus. Then, Failsafe will reward you with the Veiled Threat auto rifle, concluding A Rising Chorus Act 1 Part 2.
Step 16: Failsafe is analyzing the data in Destiny 2
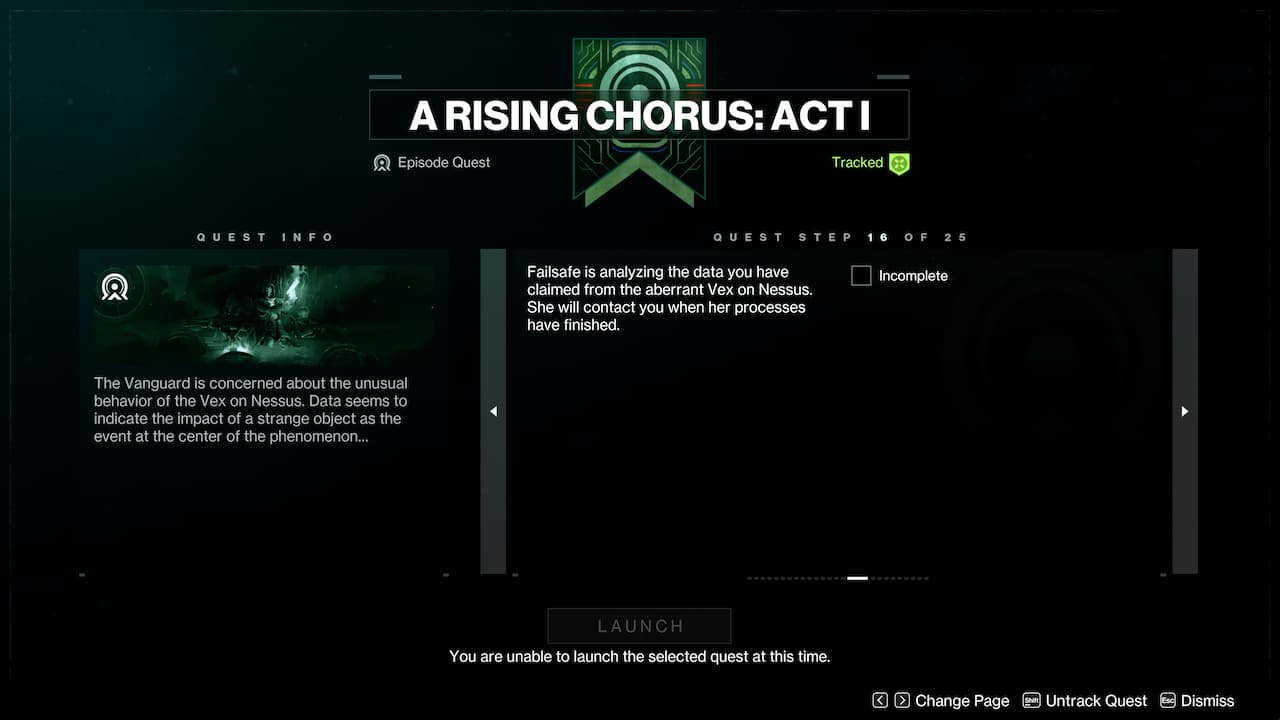
This is the classic step that every Destiny 2 Guardian has received throughout the many years of the game. We must wait for next week’s reset to continue progressing through the quest. There are 25 total steps to the A Rising Chorus quest, so make sure to come back here and log in to Destiny to continue with our walkthrough. Be sure to check out how to start and complete the Enigma Protocol mission. Believe me, it can get overly complicated.
-
 The Last of the Season 2 changes to protect Abby actorsI’ve been waiting for years to see how the creative team behind The Last of Us on HBO would adapt the non-linear events of the The Last of Us Part 2, ...Game Posted on 2025-05-03
 -
 Delta Force ammunition and armor system detailed explanationUnlike traditional FPS games, Extraction shooters have more advanced armor and ammo damage systems. The Operations mode in Delta Force is no different...Game Posted on 2025-05-03
 -
 The weird adventure of the mysterious roulette: Split FictionAfter leaving the Monkey King's realm, you will stumble upon a strange little corner. There is a slot machine that spits out bananas (why not?), ...Game Posted on 2025-05-03
 -
 Pet Simulator 99 VIP benefits detailed explanationPet Simulator 99's VIP Game Pass: Is it Worth the Robux? Many Roblox games offer Game Passes for purchase, and Pet Simulator 99 is no exception. ...Game Posted on 2025-05-03
 -
 Smite 2 Guide to Unlocking the GodsThe gods of Smite 2 are not at your fingertips. To expand your lineup of gods, you need to put in effort – or money. Here are how to unlock the gods ...Game Posted on 2025-05-02
 -
 How to get a portal in Anime Last StandAnime Last Stand Update 2 introduces Portals – a new way to acquire special units crucial for mastering the game. This guide explains how to obtain an...Game Posted on 2025-05-02
 -
 Nintendo announces Breath of the Wild no good news on Switch 2Disaping news: The 2nd version of Nintendo Switch "The Legend of Zelda: Breath of the Wild" may be missing DLC content Nintendo seems to ...Game Posted on 2025-05-02
 -
 "Road to Exile 2" Warrior Profession StrategyPath of Exile 2中的战士:近战格斗大师 战士是《流放之路2》中典型的近战格斗职业。一手持战锤,一手持大盾,战士化身为战场上的坦克,吸收伤害的同时,用强大的打击击溃敌人。 战士在攻防两方面都能专精,使其成为一个优秀的全能型职业。如果您想在《流放之路2》中扮演战士,以下内容将向您介绍该职业...Game Posted on 2025-05-02
 -
 Haolong: Hawaiian Pirates and Gangster God of Wealth Shrine redemption strategyIn "Like a Dragon: Infinite Wealth," the familiar Kamurocho mascot, Kamulop, returns with his Fortune Exchange Shop! This guide details how...Game Posted on 2025-05-01
 -
 Mudborne: How to add more storage spaceMudborne's initial inventory feels spacious, but exploring, breeding frogs, and resource gathering quickly necessitate more storage. Fortunately,...Game Posted on 2025-05-01
 -
 The Sims 4 werewolf mode cheat code collectionThe Sims 4 Werewolves rounds out the trilogy of occult-themed game packs, giving your Sims the ability to transform into a beastly, barely-humanoid ba...Game Posted on 2025-05-01
 -
 Monster Hunter Wild Firestone Obtaining Location and GuideMonster Hunter Wilds crafting requires various special materials, and Firestones are among the first you'll need for weapons and armor. However, ...Game Posted on 2025-05-01
 -
 The ultimate unlocking strategy and hidden elements of the origin of dynasty hegemonyChallenge after "Dynasty Wushuang: Origin": Unlock Lu Bu, Red Rabbit Horse and more exciting content! Congratulations on defeating the mai...Game Posted on 2025-04-30
 -
 Sultan Games: 13 essential strategies for beginnersMaster the Sultan's Game: A Guide to Surviving 1001 Arabian Nights In Sultan's Game, you navigate the treacherous world of a mad despot, striv...Game Posted on 2025-04-30
Study Chinese
- 1 How do you say "walk" in Chinese? 走路 Chinese pronunciation, 走路 Chinese learning
- 2 How do you say "take a plane" in Chinese? 坐飞机 Chinese pronunciation, 坐飞机 Chinese learning
- 3 How do you say "take a train" in Chinese? 坐火车 Chinese pronunciation, 坐火车 Chinese learning
- 4 How do you say "take a bus" in Chinese? 坐车 Chinese pronunciation, 坐车 Chinese learning
- 5 How to say drive in Chinese? 开车 Chinese pronunciation, 开车 Chinese learning
- 6 How do you say swimming in Chinese? 游泳 Chinese pronunciation, 游泳 Chinese learning
- 7 How do you say ride a bicycle in Chinese? 骑自行车 Chinese pronunciation, 骑自行车 Chinese learning
- 8 How do you say hello in Chinese? 你好Chinese pronunciation, 你好Chinese learning
- 9 How do you say thank you in Chinese? 谢谢Chinese pronunciation, 谢谢Chinese learning
- 10 How to say goodbye in Chinese? 再见Chinese pronunciation, 再见Chinese learning

