
قم ببناء مولد صور AI مجاني باستخدام ReactJS
 تصفح:552
مرحبًا المطورين،
اليوم، سأوضح لك كيفية إنشاء منشئ صور باستخدام ReactJS، وكل ذلك مجاني للاستخدام، وذلك بفضل Black Forest Labs وTogether AI.
الخطوة 1: إعداد المشروع
في هذا البرنامج التعليمي، سنستخدم Vite لتهيئة التطبيق وShadcn لواجهة المستخدم. سأفترض أنك قمت بالفعل بإعداد المشروع وتثبيت Shadcn.
الخطوة 2: قم بتثبيت حزمة Together AI
نحتاج إلى تثبيت حزمة Together AI للوصول إلى نموذج Flux المجاني لإنشاء الصور.
قم بتشغيل الأمر التالي في المحطة الطرفية الخاصة بك
npm i together-ai
الخطوة 3: بناء واجهة المستخدم
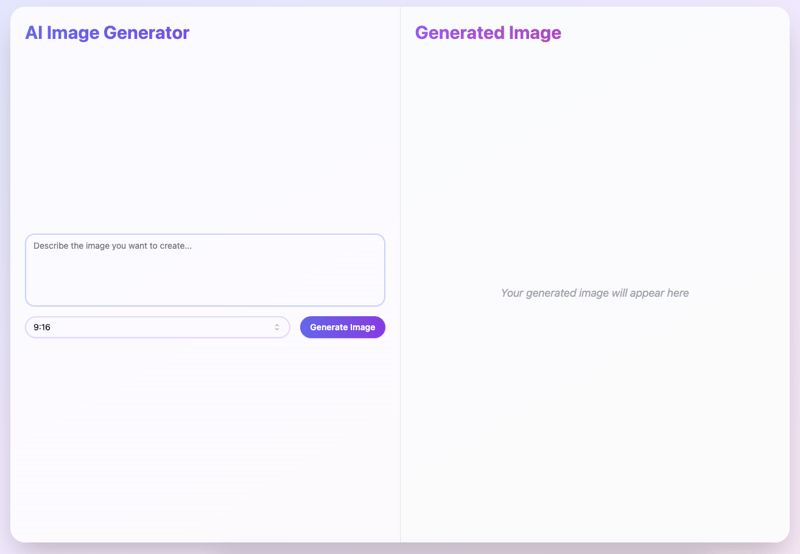
الآن، لنقم بإنشاء واجهة المستخدم لتطبيقنا. يوجد أدناه الكود الكامل لمكون مولد الصور. يتضمن إدخال نص للمطالبات. قائمة منسدلة لاختيار نسب العرض إلى الارتفاع.
ضع في اعتبارك أننا بحاجة إلى استخدام "black-forest-labs/FLUX.1-schnell-Free" لأنه مجاني.
import { useRef, useState } from "react";
import Together from "together-ai";
import { ImagesResponse } from "together-ai";
import { Button } from "@/components/ui/button";
import {
Select,
SelectContent,
SelectItem,
SelectTrigger,
SelectValue,
} from "@/components/ui/select";
import { Textarea } from "@/components/ui/textarea";
import { motion } from "framer-motion";
import { Separator } from "@/components/ui/separator";
import { DownloadIcon } from "@radix-ui/react-icons";
import { save } from "@tauri-apps/plugin-dialog";
import { writeFile } from "@tauri-apps/plugin-fs";
function App() {
const [input, setInput] = useState("");
const [imageUrl, setImageUrl] = useState("");
const [ratio, setRatio] = useState("9:16");
const [isLoading, setIsLoading] = useState(false);
const [downloading, setDownloading] = useState(false);
const imageRef = useRef(null);
const hRatio = ratio.split(":").map(Number)[0];
const vRatio = ratio.split(":").map(Number)[1];
const width = hRatio === 1 ? 512 : hRatio * 64;
const height = vRatio === 1 ? 512 : vRatio * 64;
const together = new Together({
apiKey: import.meta.env.VITE_TOGETHER_API_KEY,
});
const handleGenerateImage = async () => {
setIsLoading(true);
try {
console.log(width, height);
const response: ImagesResponse = await together.images.create({
model: "black-forest-labs/FLUX.1-schnell-Free",
prompt: input,
width: width,
height: height,
// @ts-expect-error response_format is not defined in the type
response_format: "b64_json",
});
const base64Image = response.data[0].b64_json;
const dataUrl = `data:image/png;base64,${base64Image}`;
setImageUrl(dataUrl);
} catch (error) {
console.error("Error generating image:", error);
// You might want to add some error handling UI here
} finally {
setIsLoading(false);
}
};
const handleDownloadImage = async () => {
if (imageUrl) {
setDownloading(true);
try {
// Remove the data URL prefix
const base64Data = imageUrl.replace(/^data:image\/\w ;base64,/, "");
// Convert base64 to binary
const imageBuffer = Uint8Array.from(atob(base64Data), (c) =>
c.charCodeAt(0)
);
// Open a save dialog
const filePath = await save({
filters: [
{
name: "Image",
extensions: ["png"],
},
],
});
if (filePath) {
// Write the file
await writeFile(filePath, imageBuffer);
console.log("File saved successfully");
}
} catch (error) {
console.error("Error saving image:", error);
} finally {
setDownloading(false);
}
}
};
return (
AI Image Generator for "Thảo"
Generated Image
{imageUrl ? (

) : (
Your generated image will appear here
)}
);
}
export default App;
الأفكار النهائية
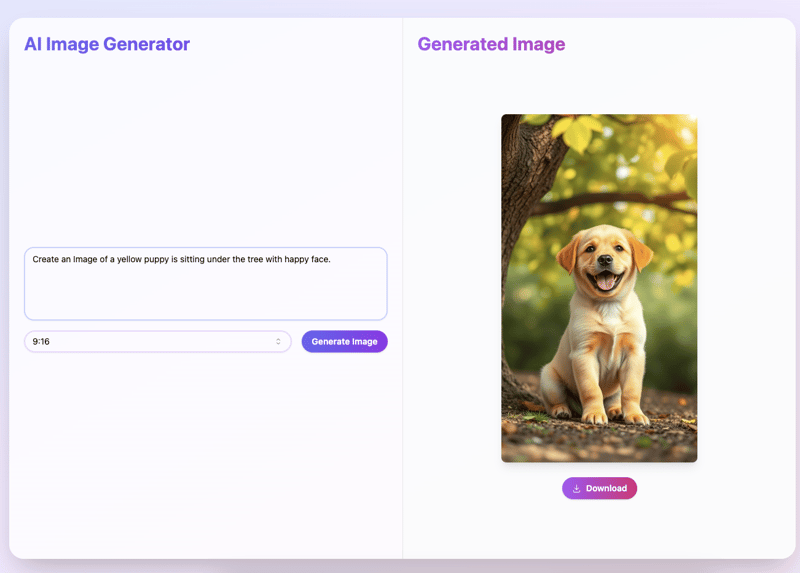
بفضل هذا الإعداد، أصبح لديك الآن تطبيق ReactJS بسيط يمكنه إنشاء وتنزيل صور تم إنشاؤها بواسطة الذكاء الاصطناعي.
شكرا للقراءة! إذا كنت تعتقد أن هذا المنشور مثير للاهتمام، فلا تتردد في الإعجاب به. برمجة سعيدة!
-
 لماذا تتطلب تعبيرات Lambda متغيرات "نهائية" أو "نهائية صالحة" في جافا؟النهائي. في قصاصة الكود المقدمة: // الرمز المفقود cal.getcomponents (). getComponents ("VTimeZone"). // الرمز المفقود ...برمجة نشر في 2025-07-10
 -
كيفية تحميل الملفات مع معلمات إضافية باستخدام java.net.urlconnection وترميز multipart/form-data؟فيما يلي تفصيل للعملية: يتضمن الترميز تقسيم جسم الطلب إلى أجزاء متعددة ، كل منها مسبق بسلسلة حدودية. استيراد java.io.outputStream ؛ استيراد java....برمجة نشر في 2025-07-10
-
طريقة للمرور الصحيح لمؤشرات وظيفة عضو C ++كيفية تمرير مؤشرات وظيفة العضو في c مؤشر وظيفة مع توقيع معين. لتمرير وظيفة عضو ، تحتاج إلى توفير كل من مؤشر الكائن (هذا) ومؤشر وظيفة العضو. يمكن...برمجة نشر في 2025-07-10
-
لماذا لا يمكن لـ HTML طباعة أرقام وحلول الصفحاتلا يمكن طباعة أرقام الصفحات على صفحات html؟ المستخدمة: @page { الهامش: 10 ٪ ؛ @العلوي مركز { Font-Family: Sans-Serif ؛ خط الرصيف: ...برمجة نشر في 2025-07-10
-
Python قراءة ملف CSV UnicodedEcodeerror الحل النهائيلا يمكن فك تشفير البايت في الموضع 2-3: مقطوع \ uxxxxxxxxx escart string قم بتعبئة المسار إلى ملف CSV مع وضع صغير "r" للدلالة على سل...برمجة نشر في 2025-07-10
-
شذوذات صفيف PHP: فهم الحالة الغريبة من 07 و 08في PHP ، تنشأ مشكلة غير عادية عندما تحتوي المفاتيح على قيم رقمية مثل 07 أو 08. تشغيل print_r (أشهر دولارات) يعيد نتائج غير متوقعة: المفتاح "0...برمجة نشر في 2025-07-10
-
كيفية حل تباينات مسار الوحدة في GO Mod باستخدام توجيه استبدال؟يمكن أن يؤدي ذلك إلى فشل GO MOD TIDY ، كما يتضح من الرسائل المرددة: ` github.com/coreos/etcd/client تم اختبارها بواسطة استيرادات github.com/co...برمجة نشر في 2025-07-10
-
تعرض `console.log` سبب استثناء قيمة الكائن المعدلدعنا نكشف هذا اللغز عن طريق تحليل مقتطف الرمز هذا: console.log ('foo1' ، foo ، foo.length) ؛ foo.splice (2 ، 1) ؛ console.log ('foo2&...برمجة نشر في 2025-07-10
-
كيف تتجنب تسريبات الذاكرة عند الانتقال إلى اللغة؟تهدف هذه المقالة إلى تقديم توضيح من خلال فحص نهجين للتقطيع وعواقبها المحتملة. على الرغم من أنها فعالة بشكل عام ، إلا أنها قد تسبب تسرب الذاكرة إذا ...برمجة نشر في 2025-07-10
-
الفرق بين معالجة الحمل الزائد للدالة PHP و C ++وظيفة php الزائدة: كشف اللغز من منظور C كمطور C المحنك الذي يغامر في عالم PHP ، قد تواجه فكرة التحميل الزائد للوظيفة. هذا المفهوم ، على الرغم من...برمجة نشر في 2025-07-10
-
كيفية عرض التاريخ والوقت الحاليين بشكل صحيح في "DD/MM/Yyyy HH: MM: SS.SS" في جافا؟يكمن في استخدام مثيلات التبسيط المختلفة مع أنماط تنسيق مختلفة. الحل: java.text.simpledateformat ؛ استيراد java.util.calendar ؛ استيراد java.ut...برمجة نشر في 2025-07-09
-
كيف يمكنني إنشاء رخويات ملائمة عناوين URL بكفاءة من سلاسل Unicode في PHP؟صياغة دالة لتوليد سبيكة فعالة تقدم هذه المقالة حلاً موجزًا لتوليد الرخويات بكفاءة ، وتحويل الأحرف الخاصة والأحرف غير ASCII إلى تنسيقات سهلة U...برمجة نشر في 2025-07-09
-
كيفية تحليل الأرقام في تدوين الأسي باستخدام decimal.parse ()؟تحليل رقم من الترميز الأسي عند محاولة تحليل سلسلة معبر عنها في ترميز أسي باستخدام decimal.parse ("1.2345e-02") ، قد تصادف خطأ. وذلك ...برمجة نشر في 2025-07-09
-
طريقة لتحويل أحرف Latin1 بشكل صحيح إلى UTF8 في جدول MySQL UTF8اتصل. لحل هذا ، فأنت تحاول تحويل الصفوف المتأثرة باستخدام "mb_convert_encoding" و "iconv." ومع ذلك ، فإن هذه الأساليب تفشل في...برمجة نشر في 2025-07-09
-
مستخدم تنسيق الوقت المحلي ودليل عرض إزاحة المنطقة الزمنيةعرض التاريخ/الوقت في تنسيق لغة المستخدم مع إزاحة الوقت عند تقديم التواريخ والأوقات إلى المستخدمين النهائيين ، من الأهمية بمكان عرضها في الوقت ...برمجة نشر في 2025-07-09


دراسة اللغة الصينية
- 1 كيف تقول "المشي" باللغة الصينية؟ 走路 نطق الصينية، 走路 تعلم اللغة الصينية
- 2 كيف تقول "استقل طائرة" بالصينية؟ 坐飞机 نطق الصينية، 坐飞机 تعلم اللغة الصينية
- 3 كيف تقول "استقل القطار" بالصينية؟ 坐火车 نطق الصينية، 坐火车 تعلم اللغة الصينية
- 4 كيف تقول "استقل الحافلة" باللغة الصينية؟ 坐车 نطق الصينية، 坐车 تعلم اللغة الصينية
- 5 كيف أقول القيادة باللغة الصينية؟ 开车 نطق الصينية، 开车 تعلم اللغة الصينية
- 6 كيف تقول السباحة باللغة الصينية؟ 游泳 نطق الصينية، 游泳 تعلم اللغة الصينية
- 7 كيف يمكنك أن تقول ركوب الدراجة باللغة الصينية؟ 骑自行车 نطق الصينية، 骑自行车 تعلم اللغة الصينية
- 8 كيف تقول مرحبا باللغة الصينية؟ # نطق اللغة الصينية، # تعلّم اللغة الصينية
- 9 كيف تقول شكرا باللغة الصينية؟ # نطق اللغة الصينية، # تعلّم اللغة الصينية
- 10 How to say goodbye in Chinese? 再见Chinese pronunciation, 再见Chinese learning


